

Your Complete Pre-Installation Homeowner Checklist for Roof Replacement
Why Proper Preparation Protects Your Investment
A roof replacement is one of the largest investments you’ll make in your home. The difference between a smooth project and a chaotic one often comes down to preparation. We’ve guided hundreds of homeowners through this process, and the ones who succeed are those who take time before day one to get their property ready.
This checklist walks you through everything you need to do before our crew arrives. Proper preparation protects not just your roof investment, but your landscaping, your peace of mind, and your timeline.
When your property is ready before installation begins, your roof replacement happens faster and cleaner. Our teams can focus entirely on quality work rather than navigating obstacles, moving items, or waiting for access.
Unprepared properties create friction that cascades into delays. Maybe we need to move your patio furniture before we can safely set up equipment. Maybe overgrown branches block roof access. Maybe there’s confusion about where our trucks should park. Each of these small issues eats into the workday and can push your completion date back by a day or more.
Beyond timeline protection, preparation safeguards your belongings and landscaping. Roof work involves debris, heavy equipment, and foot traffic. When you’ve cleared and protected your space beforehand, we can work efficiently while minimizing damage to the things that matter to you.
The investment you’re making in your new roof deserves the same care you’re putting into selecting materials and contractors. Taking a few hours now to prepare prevents costly complications later.
Clear Your Yard and Roof Area
Start by removing everything from the ground around your home’s perimeter. This includes:
- Outdoor furniture (chairs, tables, grills)
- Potted plants and planters
- Vehicles parked in the driveway
- Bikes, toys, garden tools, and equipment
- Trash cans (move these to the curb on installation day morning only)
- Any items stored against the house or in the path of access
This clearing serves two purposes. First, it protects your items from falling debris and heavy equipment. Second, it gives our team safe ground to work from and space to position trucks and staging materials.
We also need clear roof access, so walk your yard and note any branches hanging over the roofline. Low-hanging tree limbs can interfere with equipment placement and create safety hazards. If you have extensive overgrowth, contact a tree service before your installation date.
Check your gutters and downspouts too. If they’re clogged with leaves or debris, clear them out. This gives us a clean baseline to work from and prevents water backup during the project.
Protect Your Landscaping and Outdoor Items
Even with a cleared yard, your landscaping deserves protection. Roofing work generates heavy foot traffic and potential debris scatter.
Consider laying cardboard or plywood pathways from our trucks to your roof access points. This protects grass and garden beds from compaction. If you have delicate plants near the foundation, you might drape them gently with burlap or plywood lean-tos to shield them from falling materials.
For flower beds close to the house, we recommend edging them with temporary plastic fencing or moving valuable plantings temporarily. Small shrubs and landscaping features can get bumped by equipment or buried under debris.
We take great care during roof replacement cleanup, but protecting what matters before we start is smart property ownership. Document the condition of your landscaping with photos, which we’ll reference during cleanup.
If you have a pool or hot tub, make sure it’s covered securely. Roofing debris is not something you want in your water features.
Secure or Remove Exterior Decorations
Holiday lights, satellite dishes, antenna equipment, hanging baskets, and porch decorations all need to go or be secured well away from work zones.
Remove anything hung from eaves, soffits, or gutters. Seasonal decorations should come down regardless of the season. Wall-mounted items like house numbers or signs should be removed if they’re in the work zone. Porch swings, hanging planters, and mounted lighting fixtures need to come down too.
If you have permanent fixtures like satellite dishes or antennas, let us know during your initial consultation so we can plan around them. Sometimes these can be temporarily unbolted and relocated; sometimes they need to stay in place. Either way, we need to know about them in advance.
Your exterior decorations will be safe in storage, and you’ll avoid any damage or the need for reinstallation after we finish.
Communicate Access Routes With Our Team
Before installation day, confirm with us exactly where our trucks should park and which route our crew should take to reach your roof. This conversation matters more than you might think.
Tell us about:
- Driveway width and condition (can a loaded truck fit?)
- Gate access if your backyard is fenced
- Low-hanging power lines or tree branches that might block truck passage
- Soft ground, gravel, or grass areas that shouldn’t bear heavy tire weight
- Preferred parking and staging areas
- Neighbor considerations (shared driveways, tight spacing)
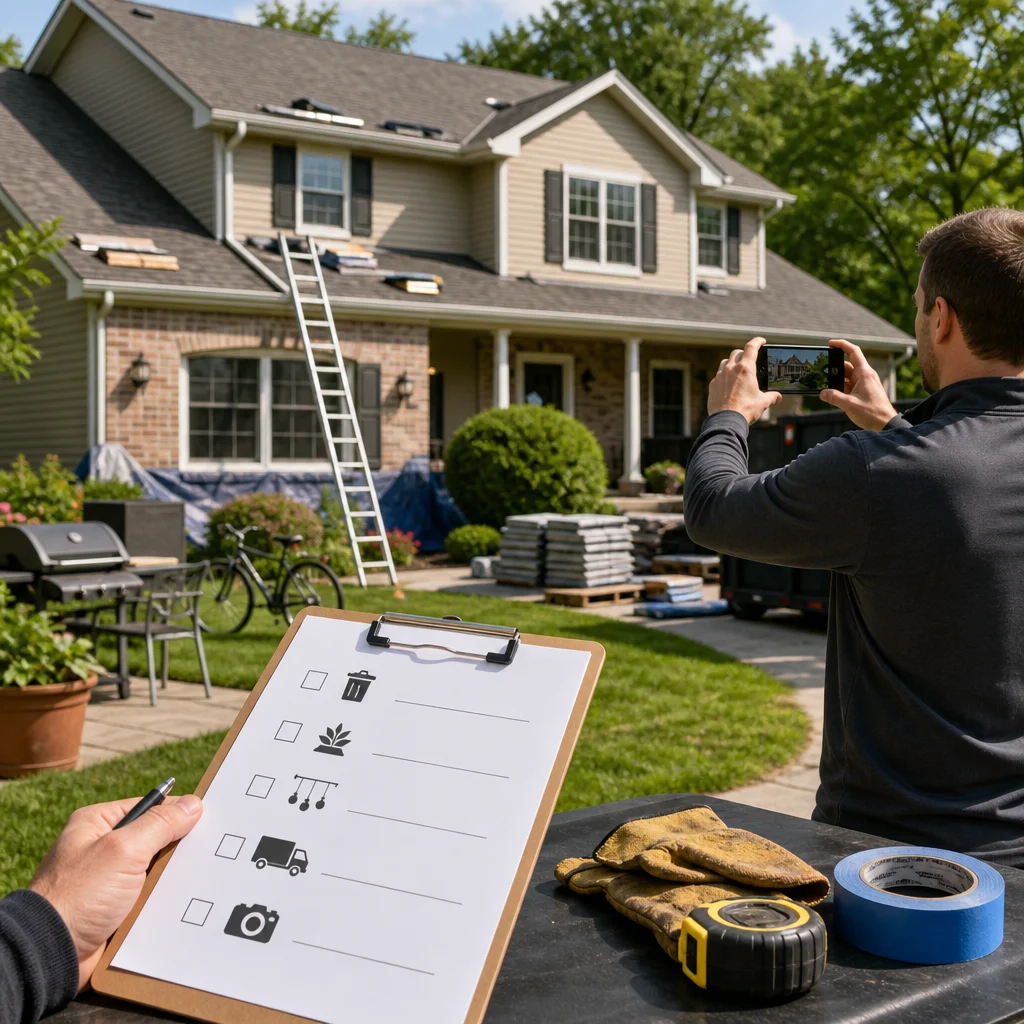
If your property has limited access, we may need to plan additional steps or staging. Having this conversation early prevents the crew from showing up and discovering they can’t reach the work area efficiently.
We’ll confirm access details with you 24 to 48 hours before the installation. This is your opportunity to flag any last-minute concerns or changes.
Document Your Property’s Current Condition
Take photos and video of your home’s exterior before work begins. Capture:
- All four sides of your roof and roofline
- Siding, fascia, and soffit conditions
- Landscaping and yard details
- Any existing damage, stains, or issues
- General property condition
This documentation serves as your baseline. If any question arises after completion about what condition something was in before, you’ll have clear visual evidence. It also helps if you need to file an insurance claim related to property damage during the project.
Don’t just focus on the roof. Capture details of your entire exterior, including how it looked before work began. Store these photos securely (backed up digitally) so you have them long term.
Plan for Noise and Activity Duration
Roof replacement is not a quiet process. Expect noise from nail guns, power tools, machinery, and truck movement. Installation typically runs from 7 a.m. to 4 p.m., with early morning startup activity and potential noise extending slightly beyond standard hours.
If you work from home, consider taking a day or two off or making arrangements to work elsewhere. If you have young children or pets sensitive to noise, prepare them for the disruption or make plans for that day.
The crew will be in and out of your yard multiple times per hour. They’ll use the bathroom, grab water, and move materials constantly. This is normal roof replacement activity, not something that indicates problems.
We keep safety and noise management practices strict, but the fundamental work is inherently loud. Knowing this in advance helps you plan realistically.
Prepare Your Family and Pets
Let your household know a roofing crew will be present for one or more full days. Brief your children on basic safety: they shouldn’t go outside without supervision, shouldn’t approach the crew, and shouldn’t pick up any debris or nails.
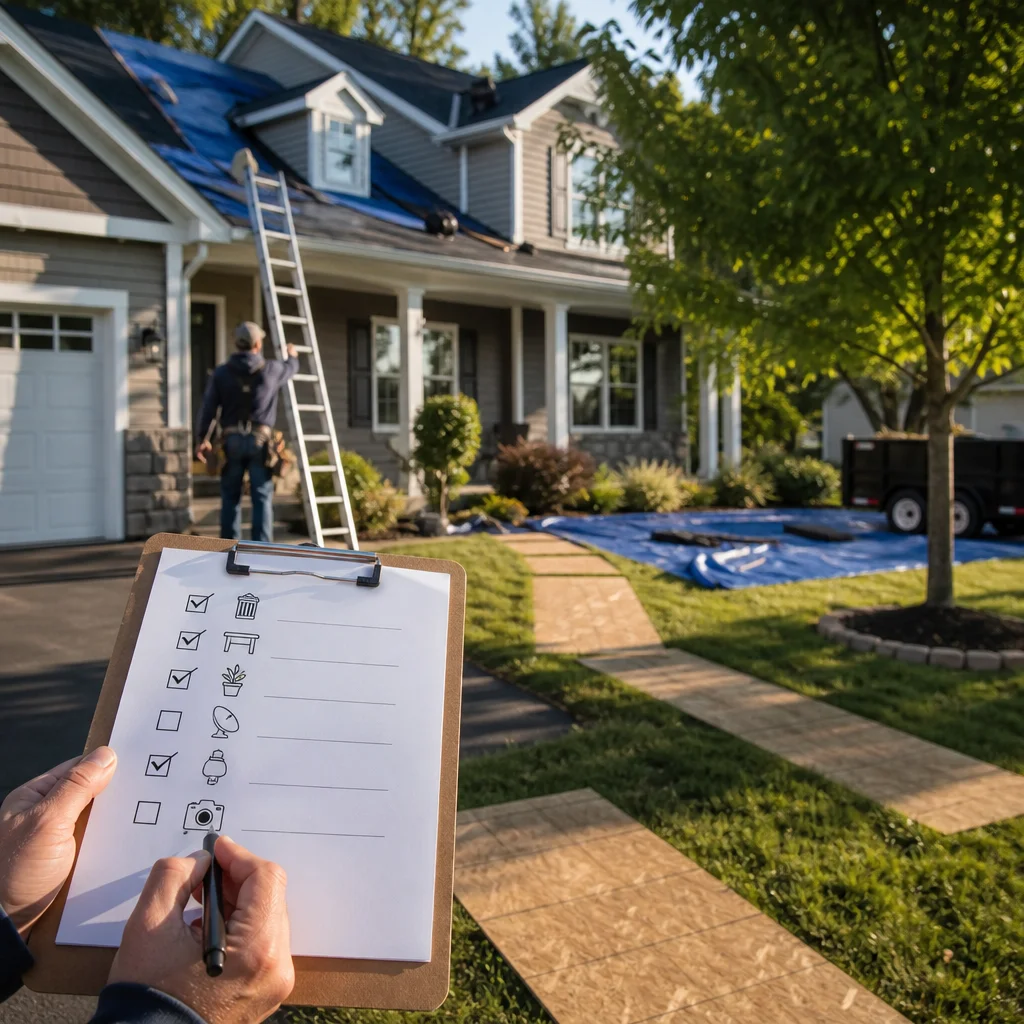
If you have pets, confine them indoors during work hours. Loud noises can stress animals, and they could escape through open doors or get in the way of crew movement. A dog in the yard creates a safety hazard for our team and stress for your pet.
Similarly, alert neighbors that work will be happening, especially if they share a property line or if noise might affect them. Professional courtesy goes a long way in keeping relationships smooth.
If anyone in your household has mobility challenges or medical conditions that could be affected by the activity and noise, let us know during consultation so we can work with you on timing.
Verify Insurance and Permit Documentation
Before installation day, confirm that your homeowner’s insurance is current and that you understand your coverage. Keep your policy information accessible. We maintain comprehensive liability insurance, but it’s wise to know your own coverage.
Verify that all required permits have been pulled and approved. Roof permits and code compliance are essential for most projects, and we handle these as part of our service. Confirm with us that permits are finalized before installation begins.
Ask us for copies of our insurance certificates and credentials. You should have documentation showing that we’re properly licensed and insured to work on your property. Keep these documents with your project folder for your records.
Final Walk-Through Before Installation Day
The day before installation, do a final property walk-through. Check that:
- Your yard is fully cleared of items and obstacles
- All exterior decorations and fixtures are removed or secured
- Landscaping is protected if you’ve chosen to do so
- Access routes are clear and accessible
- You’ve moved vehicles from the driveway
- Trash cans and mailbox are accessible but out of the work zone
This walk-through confirms that everyone is ready. If you notice anything missed, you have time to address it.
Call us if anything has changed or if you’ve discovered something during your final check that affects access or the project scope. We’d rather hear about it now than have it surprise us on installation day.
Take a moment to photograph your yard one final time so you have a clear “before” image. Then take a deep breath. You’ve prepared well, and your roof replacement is about to begin.
We’re committed to completing your project professionally and efficiently. When your property is prepared and our team knows what to expect, that’s exactly what happens. If you have any final questions before your installation date, reach out to us directly. We’re here to make sure everything goes smoothly.