

Top 7 Best Practices for Wisconsin Residential Roof Replacement
1. Choose the Right Roofing Material for Wisconsin Weather
Wisconsin’s climate is unforgiving. Your roof must withstand sub-zero temperatures, ice dams, heavy spring snowmelt, intense summer sun, and everything in between. Material choice isn’t about aesthetics alone; it’s about durability and performance in our specific conditions. For effective roof replacement, consider the following materials.
Asphalt shingles remain the most popular choice for residential properties because they balance cost and performance. However, not all asphalt shingles are equal. Three-tab shingles are budget-friendly but less durable in extreme weather. Architectural shingles cost more upfront but resist wind, ice, and UV damage better and typically last 25-30 years compared to 15-20 for three-tab.
Impact-resistant shingles offer additional protection against hail and flying debris, which matters if you’re in an area prone to severe storms. Metal roofing has gained traction in Wisconsin and for good reason: it handles snow load exceptionally well, reflects heat to reduce cooling costs, and can last 40-50 years with minimal maintenance. The trade-off is higher initial cost, though homeowners often recover that through energy savings and longevity.
For a deeper look at what works best for Wisconsin winters, we’ve detailed the performance characteristics of Wisconsin cold climate materials.
What to do next: Request samples from your contractor and compare how each material performs in cold, wet, and hot conditions. Ask which option they’d install on their own home.
2. Hire Licensed and Insured Roofing Professionals
This isn’t where you should save money. A roofing project involves working at heights, handling heavy materials, and making decisions that affect your home’s structural integrity. Hiring someone without proper credentials creates liability, quality, and warranty problems.
Verify that any contractor you consider holds a current roofing license in Wisconsin and carries general liability insurance and workers’ compensation coverage. Request proof of both. A licensed contractor has passed background checks, demonstrated technical knowledge, and agreed to follow state building codes. Insurance protects you if someone gets injured on your property or if property damage occurs during the work.
We’re licensed and insured, and that commitment matters. When something goes wrong mid-project or years later, you have recourse. Unlicensed operators disappear after collecting payment, leaving you responsible for fixing their mistakes. Additionally, most homeowner’s insurance policies won’t cover damage caused by unlicensed contractors.
Ask for references and take time to check them. Call previous customers and ask about their experience, timeline adherence, cleanup, and whether the contractor was responsive to questions. One or two glowing references isn’t enough; aim for at least three to five.
What to do next: Before your first consultation, verify contractor licensing through the Wisconsin Department of Safety and Professional Services online database.
3. Get Multiple Quotes Before Committing
You wouldn’t buy a car from the first dealership, and the same logic applies to roof replacement. Getting multiple quotes serves two purposes: it shows you the realistic price range for your project, and it reveals which contractors understand your specific needs versus those offering generic solutions.
When you request quotes, provide each contractor with the same information: square footage, current roofing condition, material preferences, and any specific concerns (ice dams, poor drainage, etc.). This standardization lets you compare apples to apples. Be wary of quotes that seem unusually low; they often reflect inferior materials, rushed installation, or contractors who’ll pressure you to cut corners mid-project.
A quality quote includes itemized costs for materials, labor, permits, disposal, and cleanup. It specifies the exact product being installed (brand and grade), removal procedures, and timeline. If a quote is vague or missing details, ask for clarification or move on.
We recommend getting at least three quotes. The goal isn’t necessarily to choose the cheapest option but to find the contractor who best balances cost, quality, and reliability. Our guide on evaluating roofing bids walks through what to examine in each estimate.
What to do next: Create a simple spreadsheet comparing materials, labor costs, timelines, and warranty terms side by side. This makes trade-offs visible and your decision easier.
4. Understand Your Roof’s Age and Condition
Your roof doesn’t fail overnight; it deteriorates gradually, and recognizing the signs helps you plan replacement before leaks cause interior damage. Most asphalt shingle roofs last 15-25 years depending on maintenance, climate exposure, and ventilation. Metal roofs last significantly longer, often 40-50 years.
If your roof is past age 20, replacement is likely in your near future. Look for curling or missing shingles, visible granule loss (especially in gutters), sagging, dark spots indicating mold or algae, and evidence of patching or repairs. These are signs that your roof’s protective barrier is breaking down.
Have a professional inspection performed, especially if you’re unsure of your roof’s age. Inspectors identify structural damage, ventilation issues, and flashing problems that you can’t see from the ground. An inspection report becomes valuable documentation for insurance claims and helps contractors understand the full scope of work needed.
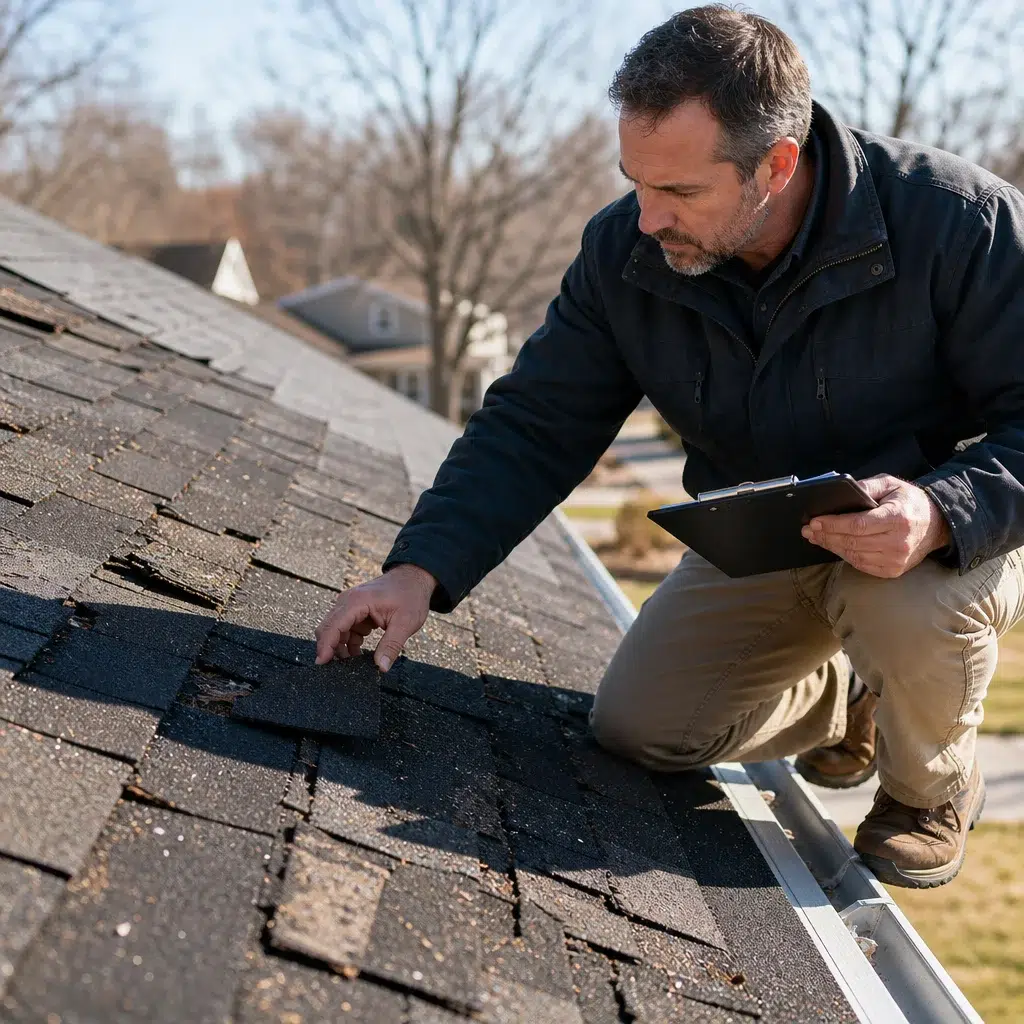
Don’t assume an older roof is automatically bad or that a newer roof doesn’t need replacement. Roof condition depends on installation quality, ventilation, maintenance, and weather exposure. A well-maintained 20-year-old roof might outlast a poorly installed 10-year-old one.
What to do next: Climb into your attic or hire a professional to check for water stains, mold, proper ventilation, and insulation. These interior clues often reveal roof problems before they’re visible outside.
5. Plan for Proper Ventilation and Insulation
Many property owners overlook ventilation and insulation during roof replacement, and that’s a costly mistake. Your roof works as a system: without proper ventilation, heat and moisture build up in your attic, causing premature shingle deterioration, ice dam formation in winter, and reduced insulation effectiveness. Poor insulation wastes heating and cooling energy.
Wisconsin’s climate makes this especially critical. In winter, warm air from your living spaces rises into the attic. If that heat isn’t vented out, it melts snow on your roof, water runs down to the cold eaves, refreezes into ice dams, and backs up under your shingles. Proper ventilation (intake vents along the soffit and exhaust vents at the ridge) maintains consistent cold temperatures, preventing this cycle.
When replacing your roof, coordinate with your contractor on ventilation upgrades. Soffit and fascia replacement often accompanies roofing, and these components should be evaluated for proper airflow. Similarly, discuss attic insulation. Many homes, especially older ones, have insufficient insulation. A roof replacement is the ideal time to add batts or blown-in insulation since the interior structure is accessible.
We address ventilation and insulation as core components of any roof replacement project, not afterthoughts. Proper installation upfront eliminates years of problems later.
What to do next: Ask your contractor to measure your attic ventilation ratio and recommend upgrades if needed. The standard is 1 square foot of ventilation per 150 square feet of attic space.
6. Schedule Replacement During Optimal Weather Conditions
Roofing work happens outdoors, and Wisconsin weather directly impacts the project timeline and installation quality. Temperature, moisture, and precipitation all affect how materials install and cure.
Fall and spring are ideal for roof replacement in Wisconsin. Temperatures are moderate, humidity is manageable, and you avoid the worst of winter ice and summer heat. Contractors typically have more availability in spring and fall because demand peaks during these windows, but scheduling earlier gives you the best selection.
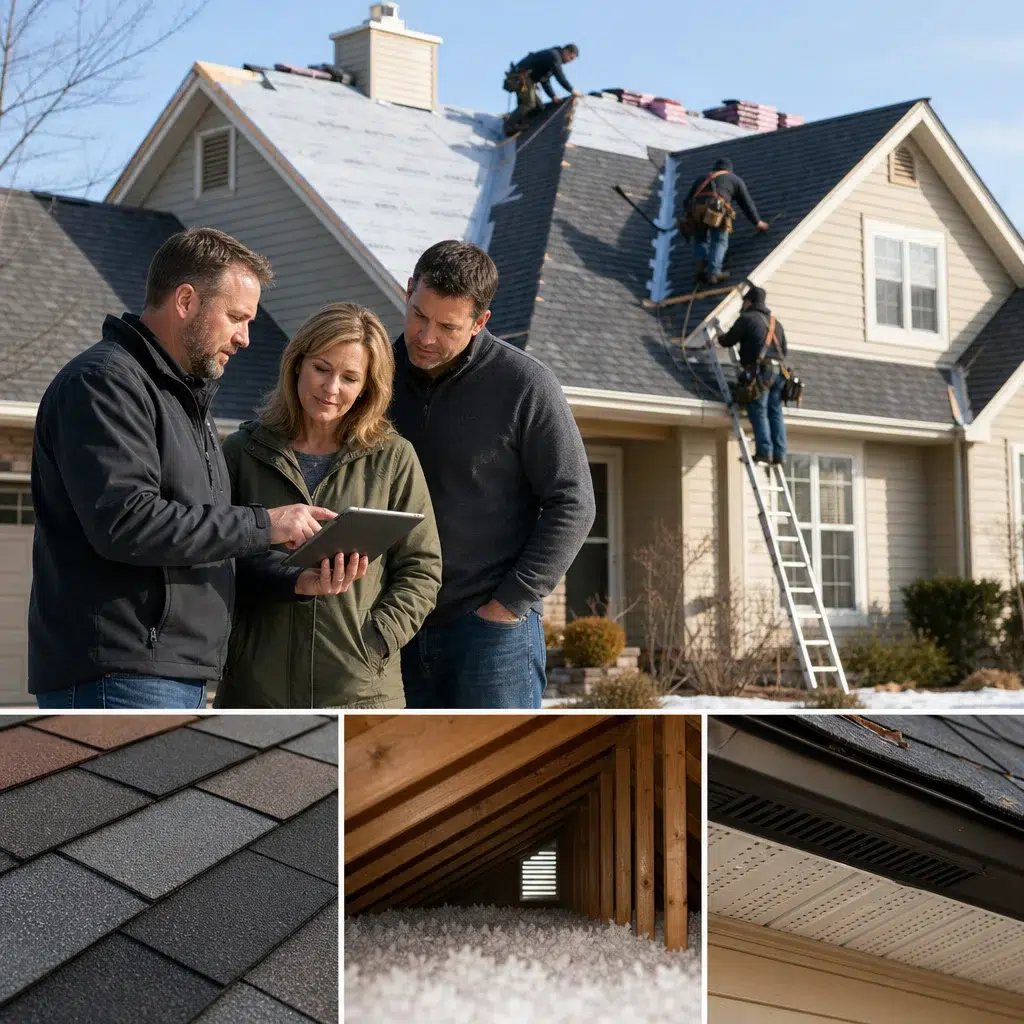
Summer heat can be problematic. Asphalt shingles soften in extreme heat, making them vulnerable to damage during installation. Workers also face heat exhaustion risks. Winter temperatures below freezing make some adhesives and sealants ineffective, delaying the cure process and increasing the risk of improper installation. Snow and ice create safety hazards and prevent proper inspection of work.
If emergency replacement is necessary during winter, experienced contractors like ours have winter-specific protocols to ensure quality. However, whenever possible, plan your project for fall or spring.
For detailed guidance on timing, our resource on seasonal timing for roof replacement explains the advantages of each season and helps you coordinate with contractor availability.
What to do next: Plan your project 2-3 months in advance of your preferred season. This gives you time to get quotes, secure financing if needed, and lock in your contractor’s schedule.
7. Verify Warranties and Post-Installation Guarantees
A warranty is your assurance that the materials and workmanship will perform as promised. Understanding what’s covered, for how long, and under what conditions protects your investment and gives you recourse if problems arise.
Manufacturer warranties cover defects in the roofing material itself and typically last 10-30 years depending on the product. Workmanship warranties, provided by your contractor, cover installation quality and usually span 5-10 years. These warranties are not the same, and both matter.
When reviewing a contractor’s proposal, request their workmanship warranty in writing. What does it include? Are there maintenance requirements to keep it valid? What happens if issues arise? Some contractors offer limited warranties that exclude common problems; others provide comprehensive coverage. The best contractors stand behind their work with robust, transparent warranty terms.
We’re transparent about what our workmanship guarantees cover, and we work with material manufacturers to understand product-specific coverage. This knowledge becomes invaluable if a problem surfaces years after installation.
Read the fine print. Many warranties require regular maintenance (professional inspections, debris removal, etc.) to remain valid. Some exclude coverage if you don’t maintain proper attic ventilation or if damage results from wind speeds beyond a certain threshold. Understanding these conditions prevents unpleasant surprises later.
Our warranties and guarantees guide details what you should expect from quality contractors and material manufacturers.
What to do next: Request warranty documentation before signing a contract and have your contractor walk you through coverage details, exclusions, and maintenance requirements.