
How to Prepare Your Property for Roof Replacement: Expert Guide
Why Proper Preparation Matters for Your Roof Replacement
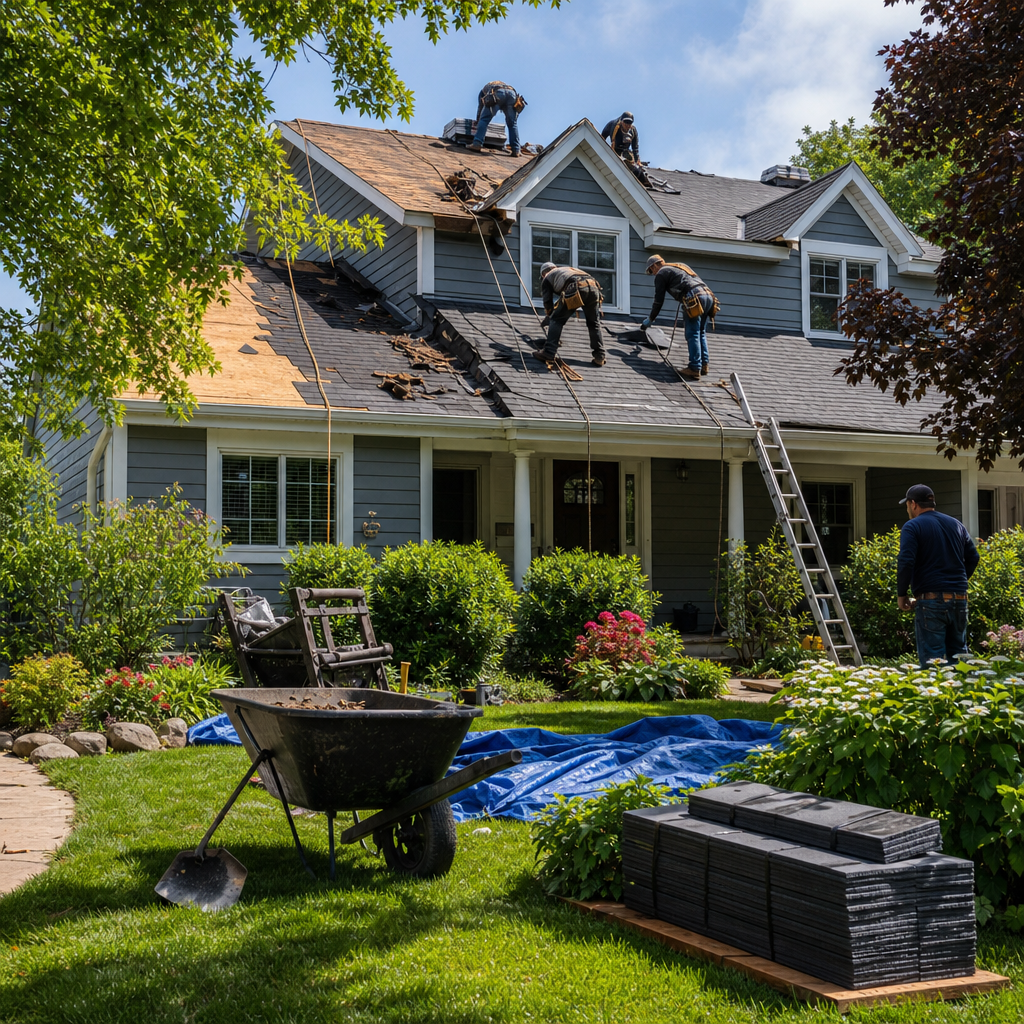
A roof replacement is one of the most significant exterior investments you’ll make for your property. The success of the project depends not just on quality materials and skilled installation, but equally on how well your property is prepared beforehand. When we arrive to begin work, a prepared property allows our crew to work safely and efficiently, minimizes damage to your landscaping and belongings, and helps us stay on schedule.
Without proper preparation, we’ve seen projects delayed by obstacles in the yard, damage to gardens from falling debris, or complications from overhanging branches blocking roof access. These issues cost time and money that could have been prevented with a few hours of advance planning. Taking the time now to prepare your property sets the stage for a smooth, professional installation experience.
Clear Your Gutters and Downspouts First
Before we schedule your installation, clear out all debris from your existing gutters and downspouts. Leaves, twigs, and accumulated dirt can hide structural issues we need to assess, and they’ll complicate our work once we’re on the roof. You don’t need professional-grade tools for this task, just a ladder, gloves, and a bucket.
Pay particular attention to the areas where gutters meet downspouts and where water will flow once we begin work. If your gutters have significant damage or are severely clogged, mention this when you call us so we can factor it into our assessment. Clean gutters give us a clear view of your fascia and soffit condition, which often needs attention during a roof replacement.
As part of your preparation, also check that all downspouts extend at least 4-6 feet away from your foundation. During installation, water management becomes critical, and properly functioning downspouts protect your landscaping and foundation from erosion.
Action item: Spend 30-45 minutes cleaning gutters at least one week before your scheduled installation date.
Trim Back Trees and Overhanging Branches
Overhanging tree branches are one of the most common obstacles we encounter on roof replacement projects. Branches that hang over your roofline need clearance for our equipment, ladders, and crew safety. They can also fall during high winds or be damaged by our equipment, so trimming them back benefits both the project and your trees.
Cut back branches so there’s at least 6-10 feet of clear space above your roofline. This gives our team room to work safely with lift equipment and prevents branches from interfering with our materials staging area. If you have large trees very close to your home, consider calling a certified arborist rather than attempting major trimming yourself, especially if branches are thick or high up.
Beyond safety and access, this trimming also improves long-term roof health. Overhanging branches drop debris onto your new roof, promote algae and moss growth in shaded areas, and can eventually damage shingles and flashing during storms.
Action item: Walk your property’s perimeter and identify branches within 10 feet of your roofline at least two weeks before installation.
Secure Your Landscaping and Outdoor Items
Roof replacement involves significant activity on and around your home. We need clear space on all sides of your house to move equipment, stage materials, and position our work vehicles. Secure or move anything that could be damaged or that might obstruct our access.
This includes:
- Potted plants and planters (move to a garage or interior space)
- Patio furniture and outdoor cushions
- Garden tools, ladders, and extension cords
- Grills, air conditioning units, or heat pumps that sit against the house
- Parked vehicles (we’ll need clear driveway access for our trucks)
- Bikes, scooters, and children’s outdoor toys
Even lightweight items can shift or get knocked over during our work. Moving them beforehand prevents accidents and keeps them safe from dust and debris. If you have large statuary or permanent landscape features near your roofline, point these out to us during your initial consultation so we can plan accordingly.
Action item: Create a 10-foot perimeter around your home and move anything portable at least one day before work begins.
Protect Your Garden Beds and Walkways
Roof replacement generates considerable debris and requires heavy foot traffic around your property’s foundation. If you have flower beds, vegetable gardens, or sensitive plantings near your roofline, protect them before we arrive.
Lay down plywood sheets or heavy tarps across garden beds and walkways where our crew will be moving materials and equipment. This simple barrier prevents soil compaction, protects roots, and catches debris that falls during the day. After work is complete, we’ll remove our tarps, but keeping debris out in the first place is far easier than cleanup afterward.
For mulched or loose soil areas, place 3/4-inch plywood sheets to distribute weight evenly. Secure the edges with landscape stakes so sheets stay in place when moved. If you have delicate plants or flowers blooming during your project timeline, consider trimming them back or protecting individual plants with cardboard cones.
Action item: Assess which areas around your home’s foundation will see foot traffic and cover them with protective barriers at least one day before work begins.
Communicate Access Points to Our Team
When you book your roof replacement with us, provide clear information about how our crew will access your property. Do you have a side gate that’s faster than walking around front? Is there a particular driveway entrance or parking area that works best? Are there any gates, locks, or access restrictions we should know about?
Communicate whether your property has automatic gates, driveway chains, or alarm systems that might be triggered by unfamiliar vehicles. If you have a detached garage, shed, or other structures we should work around, let us know. The more details you share during scheduling, the smoother our first-day setup becomes.
If your property has limited driveway space, discuss this with us in advance so we can coordinate multiple vehicles or stagger arrival times. Clear communication prevents our crew from wasting time searching for access or blocking your neighbors’ driveways.
Action item: Walk your property noting entry points and any access barriers, then share this information when confirming your installation date with us.
Plan for Debris Management
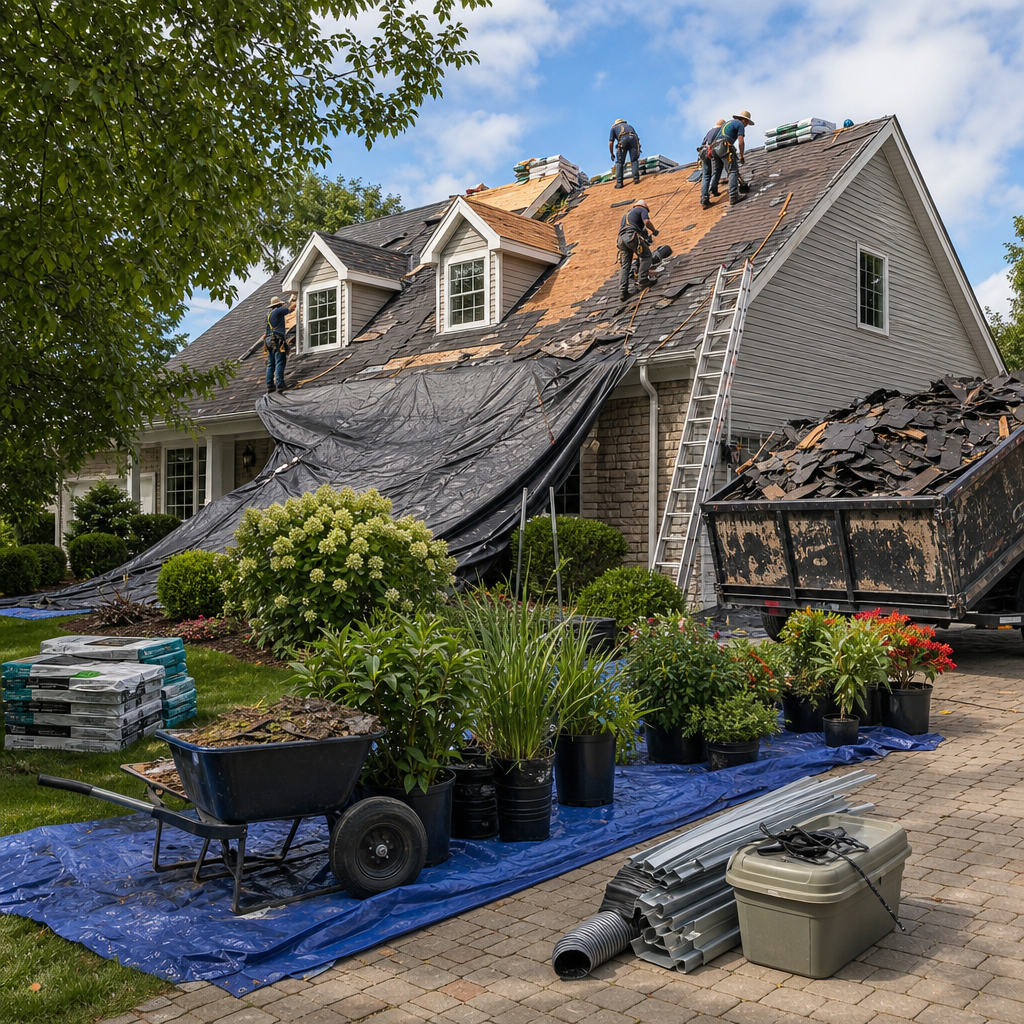
Roof replacement generates a significant amount of old roofing material, nails, and shingle fragments. We manage debris removal as part of our service, but understanding the process helps you prepare your property and household accordingly.
We’ll place a dumpster or debris container in your driveway or yard, positioned to minimize impact on your landscaping and neighbors. The container will remain for the duration of the project and be hauled away when work is complete. During the day, you may hear impact noise and see debris being removed, which is a normal part of the process.
Communicate with your neighbors, especially if your driveway is shared or if the debris container will be positioned where it affects their view or access. Most roof replacement projects take 1-3 days depending on your home’s size and complexity, so debris management typically isn’t a long-term disruption.
Action item: Identify the best location for a debris container on your property and clarify any neighbor considerations before scheduling.
Prepare Your Interior for Noise and Vibration
While our crew works on your roof, you’ll hear significant noise inside your home. Hammering, pneumatic tools, and material movement create sound that travels through your house. Vibration from walking across your roof can be felt, especially near attic spaces and upper-floor rooms.
If you work from home, plan to adjust your schedule or relocate to a quieter space during installation. If you have young children or pets, consider whether they’ll be comfortable with the noise, or arrange for them to spend the day elsewhere if needed. Most installations run from 7 a.m. to 3 p.m., so knowing your schedule in advance helps with planning.
Close windows in rooms you’re using to minimize noise, and let family members know which rooms might experience the most vibration. Upper-floor bedrooms directly beneath the roof work will be noisier than lower areas. If you have sensitive equipment or items that could shift easily, secure them beforehand.
Action item: Review your home’s activity on installation day and plan any necessary schedule adjustments or relocations at least one week prior.
Document Your Current Roof Condition
Before we begin work, take photographs of your current roof from multiple angles, including close-ups of any problem areas like water stains, missing shingles, or visible damage. Document the condition of your gutters, fascia, and soffit as well. This photographic record protects you by establishing the baseline condition of your property.
These photos become valuable reference material if you need to file an insurance claim related to pre-existing damage, or if questions arise about your roof’s condition after installation. They’re also helpful for our team to reference during work if they discover underlying issues that affect the scope of the project.
Include photos of any interior water damage, stains on attic rafters, or ceiling discoloration that might be roof-related. When we assess your property, having this documentation ensures we don’t miss anything and can provide accurate estimates for any additional work your roof might need.
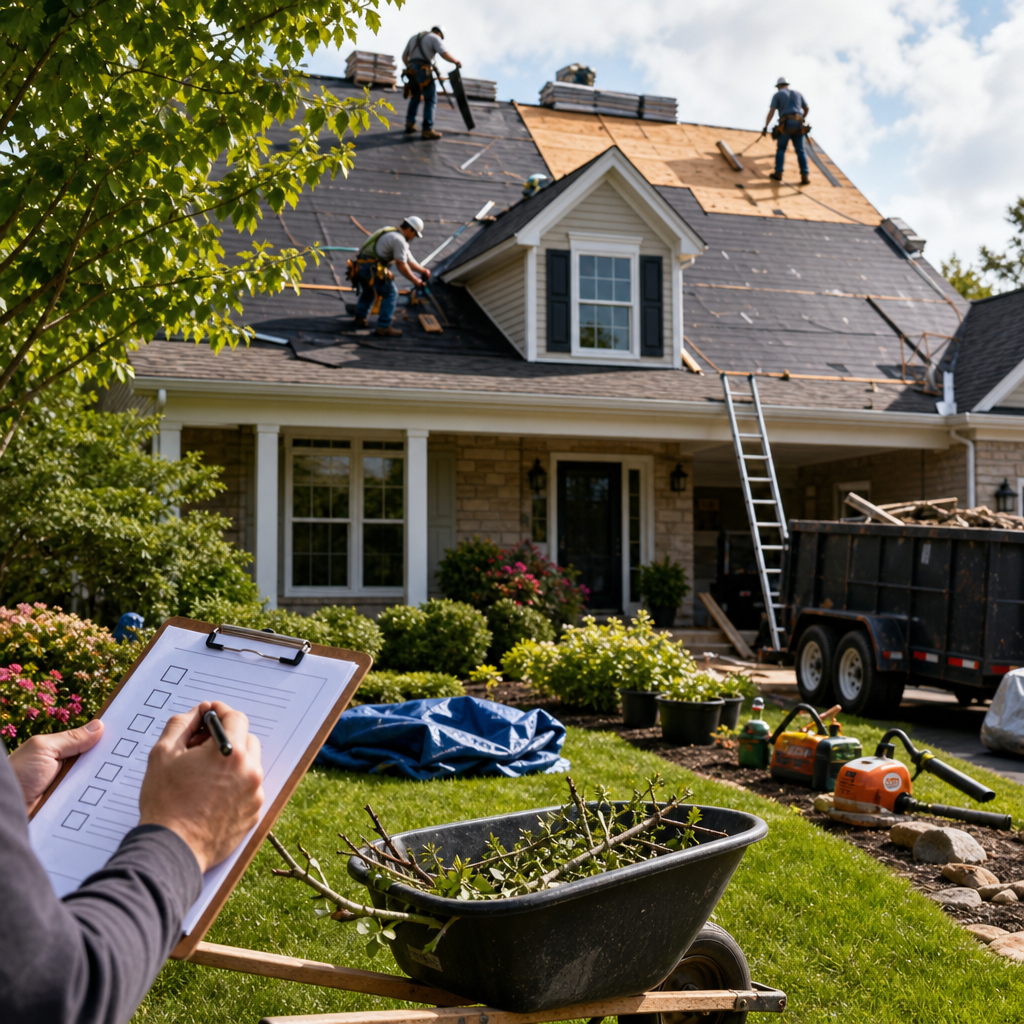
Action item: Take 8-10 photos of your roof and gutters from ground level and an upper-floor window, storing them on your phone or in a cloud backup.
Schedule Your Roof Replacement with Expert Exteriors
Once your property is prepared, it’s time to book your installation. We offer flexible scheduling and can work around your availability during the warmer months when roof work is most efficient. When you contact us, we’ll discuss your property’s specific needs, provide a detailed estimate, and answer any questions about our roof replacement services.
Our team serves residential and commercial properties throughout Brookfield and surrounding areas. We work with both residential asphalt shingles and commercial roofing systems like EPDM and TPO, so whether you own a home or a business, we have the expertise your project requires. We’ll walk you through exterior project timelines so you know exactly what to expect from start to finish.
Action item: Call us or complete our online form with your property details and preferred installation dates. We’ll respond within 24 hours with scheduling options.
What to Expect During Installation Day
Arrive at the start time we provide so you can meet our crew and confirm any last-minute details about access points or property concerns. Our team will position equipment, set up safety barriers, and begin removing your old roofing material early in the day. You’ll notice our trucks, equipment, and crew movement throughout the morning as we work systematically across your roof.
By midday, we’re typically at the halfway point, with old roofing removed and new underlayment and flashing installed. The afternoon involves new shingle or membrane installation, final inspection, and cleanup. We’ll sweep the entire project area at day’s end, removing debris and nails to leave your property clean.
If we discover additional issues during work, such as rotted decking or damaged fascia, we’ll contact you with photos and a detailed estimate for the additional work before proceeding. This transparency ensures no surprises and keeps you informed throughout the process.
Action item: Plan to be home or nearby during installation so our crew can reach you if questions arise. Expect the project to take 1-3 days depending on your roof’s size and any complications.
Aftercare and Protecting Your New Roof
Your roof investment is protected by our 15-year workmanship warranty, but proper aftercare extends its lifespan significantly. After installation, schedule gutter cleaning and inspection within 3-6 months to ensure they’re functioning properly and directing water away from your home.
Avoid pressure washing your new roof, as high pressure can damage shingles or membranes. Keep trees trimmed back to prevent debris accumulation and reduce shade that promotes algae growth. If you notice any issues, loose shingles, or water spots in your attic, contact us promptly so we can address them under warranty.
Annual inspections help catch potential issues early. We’re happy to perform these for you and can also discuss any complementary exterior work, such as fascia and soffit replacement or gutter upgrades, that enhance your home’s protection.
Action item: Schedule your post-installation inspection with us and set a calendar reminder for annual roof checks in future years.