
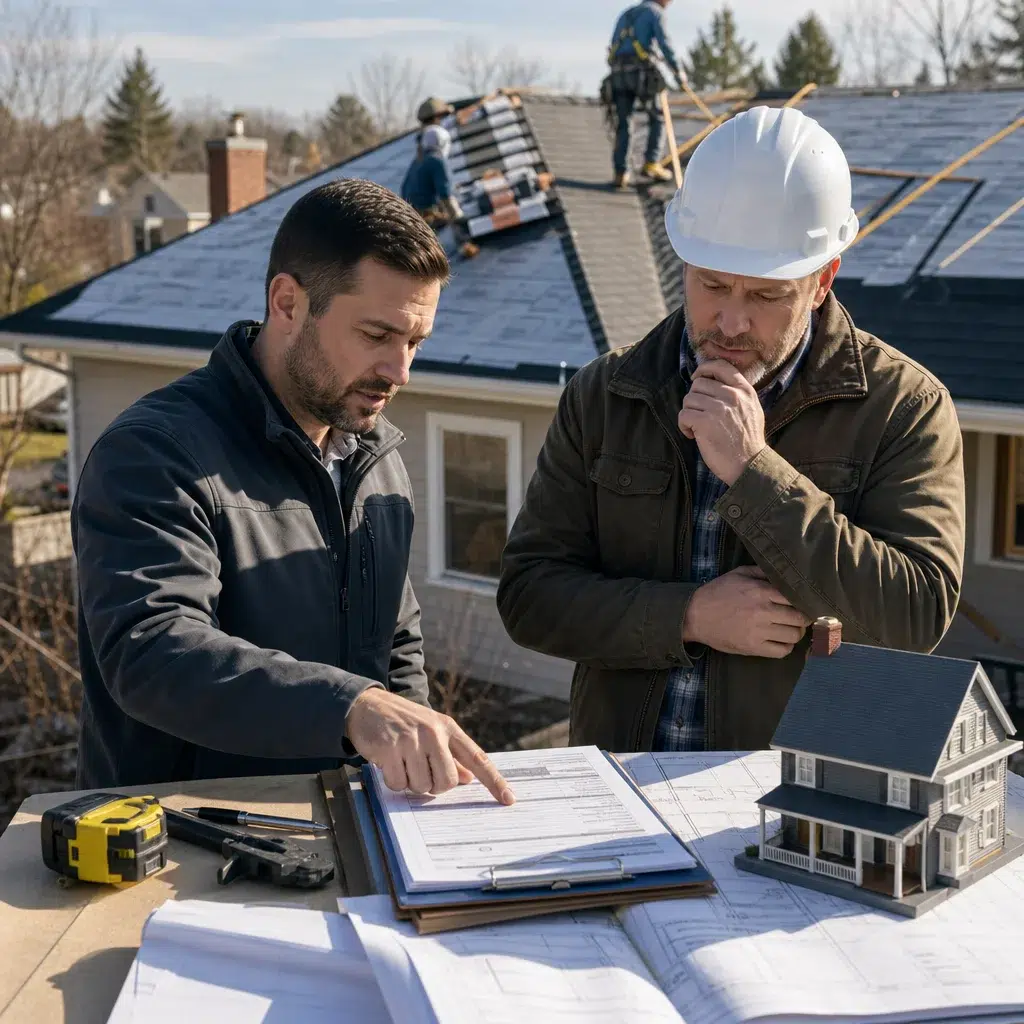
Roof Permits and Code Compliance: What Every Property Owner Should Know
Why Roof Permits Matter More Than You Think
When you’re planning a roof replacement or major exterior work, the paperwork side feels like an annoying detour. You want a new roof, not a folder full of permits. But skipping this step or working with contractors who cut corners creates serious problems: rejected work, fines, failed insurance claims, and a roof that doesn’t meet code. We’ve seen all of it happen.
At Expert Exteriors, we handle the permit and compliance side so you don’t have to worry. Here’s what property owners in Brookfield and surrounding Wisconsin areas need to know about roof permits, local building codes, and why this matters more than most people realize.
A permit isn’t just bureaucratic gatekeeping. It’s verification that your roofing project meets safety standards, uses approved materials, and protects your home’s structural integrity. When we pull a permit for your project, the municipality reviews the scope of work, confirms the contractor is licensed, and schedules inspections at key stages.
This matters because roofing failures don’t stay contained to your property. A poorly installed roof can lead to ice dams, water intrusion, mold, and structural damage that spreads into walls and attic spaces. It also affects neighboring properties if debris or water runs off incorrectly. Building codes exist to prevent cascade failures and keep communities safe.
Additionally, permits create an official record. If you ever sell your property or file an insurance claim, that documentation proves the work was done legally and to code. Most mortgage lenders and insurance companies require proof of permitted work before they’ll approve coverage or refinancing.
Many property owners think they can save money or time by having work done without permits. The opposite is true. Unpermitted work creates liability that comes back to haunt you.
The Hidden Costs of Skipping Permits and Inspections
When a roofing project bypasses permits, the financial consequences almost always exceed what you thought you were saving. Here’s what actually happens:
Insurance claim denial. If your roof fails and you file a water damage claim, insurers investigate whether the original installation was permitted and inspected. An unpermitted roof gives them grounds to deny the entire claim, even if the current owner didn’t authorize the shortcut.
Fines and required remediation. If code enforcement discovers unpermitted roofing work (often during property inspection for resale or when a neighbor complains), the municipality can order you to remove and redo the work to code. You pay twice: once for the original unpermitted work, and again for corrective work. Fines also apply.
Failed home inspection. When you sell, a professional home inspector flags unpermitted roof work, and buyers either demand a discount or walk away. You’re now negotiating from weakness.
Liability issues. If someone is injured on your property and discovers the roof work wasn’t permitted or to code, you lose your liability protection. This becomes a personal lawsuit rather than an insurance matter.
Financing complications. Banks won’t refinance a property with unpermitted exterior work. If you need to access equity or refinance later, you’re blocked until the issue is resolved.
The actual cost of doing it right from the start is minimal compared to these scenarios. We pull permits on every project because it protects our clients and our reputation.
Understanding Local Building Codes in Wisconsin
Wisconsin roofing codes are based on the International Building Code (IBC), customized for Wisconsin’s climate and updated roughly every three years. Since we work in Brookfield and surrounding communities, we’re familiar with both state-level requirements and municipal-specific additions.
Key code areas for roofing include:
Snow load and wind resistance. Wisconsin winters demand roofs rated for 40+ psf (pounds per square foot) of snow load in most areas. Wind resistance ratings vary by location but generally require roofs to withstand 90+ mph gusts. Your roof material, fastener type, and installation method all factor into these ratings.
Ventilation requirements. Attic ventilation prevents moisture buildup and prolongs roof life. Codes specify minimum ventilation ratios (usually 1 square foot of ventilation per 150 square feet of attic space) and require both intake and exhaust vents positioned correctly.
Flashing and water intrusion prevention. Flashing around chimneys, skylights, vents, and valleys must follow specific installation patterns. Water intrusion is the leading cause of roof failures, so codes are strict about flashing details.
Underlayment standards. Wisconsin code requires underlayment under most roof coverings. Synthetic underlayments have largely replaced traditional felt because they’re more durable and water-resistant.
Attic access. Codes require safe, accessible attic entry for maintenance and inspection.
Each municipality may add local amendments. Brookfield has specific requirements for commercial properties, steeper pitch specifications in certain districts, and aesthetic guidelines for visible elements. We track these updates and build them into every project plan before permits are even submitted.
What Permits Does Your Roof Project Really Need
Not every roofing work requires a permit, but most do. Understanding the difference helps you plan correctly.
Roof replacement. If you’re removing and replacing the entire roof or a major section (more than 25% of the roof), a permit is required. This is the most common permit scenario.
Residential roof additions. Adding dormers, expanding attic space, or increasing roof square footage requires permits and inspection.
Commercial roofing installation. All commercial roof work (EPDM, TPO, metal roofing) requires permits, especially since we often work on flat or low-slope roofs with different code requirements than residential pitched roofs.
Reroofing over existing materials. Some contractors claim they can install new shingles over old ones without a permit. Wisconsin code allows one layer of new shingles over existing ones only if specific conditions are met, and even then, inspection is required in most municipalities.
Siding, fascia, soffit, and gutter replacement. These exterior projects typically require permits if they involve structural changes, insulation updates, or removal of existing materials. Gutter installation alone usually doesn’t need a permit, but a full soffit and fascia replacement does.
Minor repairs. Patching a small leak, replacing a few damaged shingles, or repairing flashing generally don’t require permits. However, if the repair reveals larger issues or requires material removal, it may trigger permit requirements.
The safest approach is to assume your project needs a permit. We evaluate every job and file accordingly, which means zero surprises on the inspection side.
The Expert Exteriors Permit Process: We Handle It All
Our permit process streamlines the bureaucracy so you’re never managing paperwork or timelines with the municipality. Here’s how we work:
Initial consultation and site assessment. We visit your property, photograph existing conditions, measure dimensions, and document any damage or code concerns. This information becomes the foundation of the permit application.
Permit application preparation. We complete the permit application with detailed specifications: material types, installation methods, ventilation details, flashing plans, and compliance documentation. For commercial roofing projects, we include structural load calculations and manufacturer documentation for TPO or EPDM systems.
Submission and follow-up. We submit the application to the appropriate municipality, handle any back-and-forth requests for clarification or additional documentation, and monitor approval status. Most residential permits in our area take 5-10 business days; commercial permits may take 2-3 weeks.
Pre-work coordination. Once approved, we schedule the work, communicate the timeline to you, and notify the municipality of our start date. We arrange any temporary fencing or access requirements.
Inspection scheduling. We coordinate with the building inspector for required inspections. Most roofing projects need inspections at the underlayment stage and after installation is complete. We ensure inspectors can access your property and any inspection issues are resolved immediately.
Final documentation. Once the inspector approves the work, we obtain the Certificate of Compliance and provide you with a full packet: permits, inspection reports, warranties, and maintenance guidelines.
You never have to contact the municipality, worry about missed deadlines, or manage inspection logistics. That’s our responsibility.
Preparing Your Property for Code Compliance Inspections
Your preparation before the inspector arrives makes the process faster and smoother. Here’s what we recommend:
Clear access routes. Ensure the inspector can safely access your roof, attic, and the property perimeter. Remove cars from driveways if they block access, and trim back low-hanging branches.
Attic access. Make sure attic hatches, pull-down stairs, or access openings are unobstructed and safe to use. The inspector will likely check ventilation, insulation placement, and the condition of the underlayment from inside the attic.
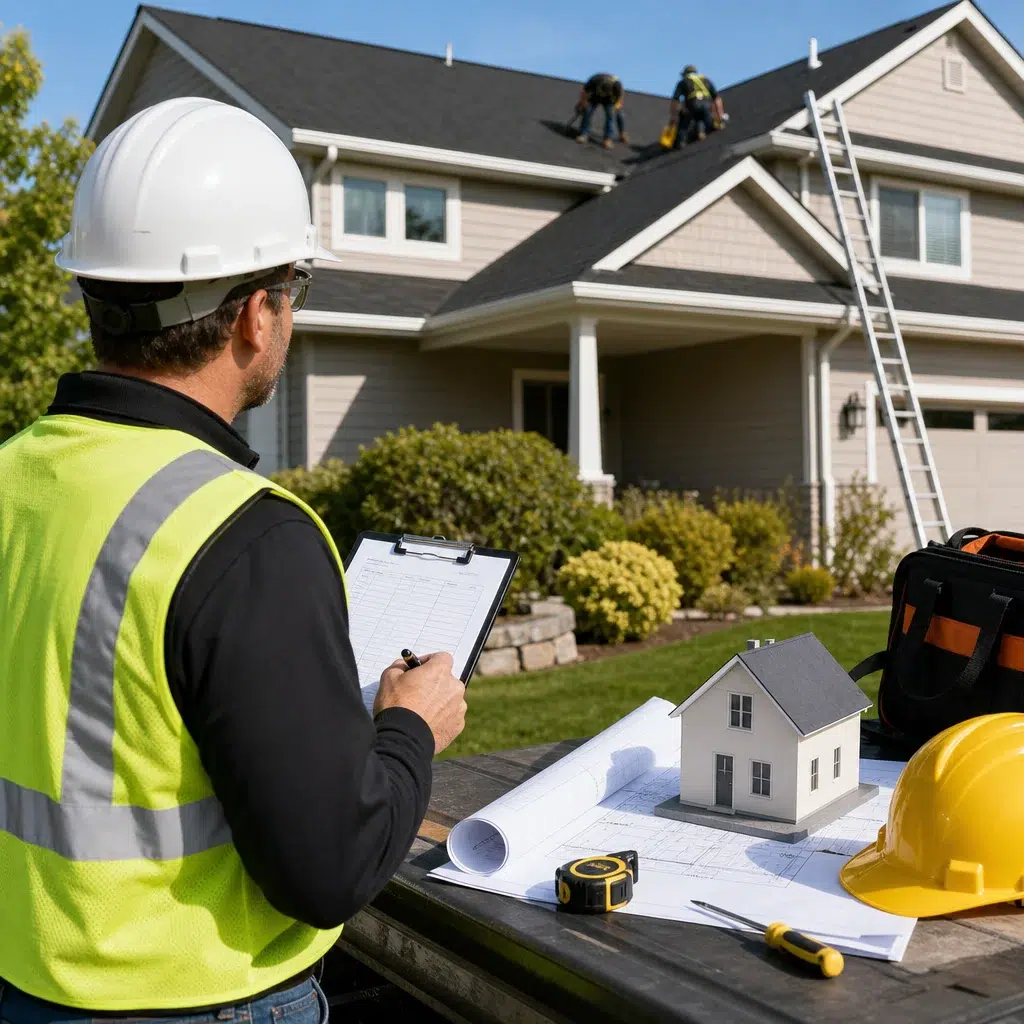
Documentation on hand. Have your permit, any previous roofing paperwork, and notes about material selections available. If the inspector has questions about why certain materials or methods were chosen, you can reference the permit specifications.
Temporary structures removed. If we used scaffolding, tarps, or staging areas during installation, these are cleared before the final inspection.
No additional work beyond scope. Don’t make changes to the project scope after permits are approved. If you want to add work (new skylights, additional flashing, etc.), we file an amendment before proceeding.
We guide you through these steps before the inspection date, so you know exactly what to expect.
How Our Roofing Installation Meets Every Requirement
Code compliance isn’t something we layer on top of good roofing. It’s embedded in our installation methods from the start.
Material selection aligned with codes. We specify materials rated for Wisconsin’s climate and your municipal requirements. For residential work, we use architectural or premium shingles rated for appropriate wind and snow loads. For commercial projects, TPO and EPDM systems are chosen based on code requirements for slope, drainage, and seismic considerations.
Proper underlayment installation. We install synthetic underlayment with full coverage, proper overlap (typically 6-8 inches), and fastening that meets code. Underlayment protects against water intrusion during installation and provides a secondary moisture barrier long-term.
Flashing details executed precisely. Every roof penetration (chimney, vents, skylights, valleys, ridges) gets flashing installed according to manufacturer specifications and building code standards. This is where most leaks originate, so we don’t compromise on installation method.
Ventilation verified and documented. We calculate required ventilation ratios, position intake and exhaust vents to promote airflow, and verify that soffit vents aren’t blocked by insulation. After installation, we photograph ventilation placement for inspection records.
Fastener type and spacing. Shingles, underlayment, and flashing are fastened with the correct fastener type (corrosion-resistant for Wisconsin), gauge, and spacing per code. Over-fastening or under-fastening both cause problems; we hit the exact specification.
Structural safety during installation. Our crews use fall protection, roof brackets, and safety measures that exceed OSHA requirements. This protects workers and demonstrates to inspectors that the project was executed professionally.
When the inspector arrives, they’re verifying what we’ve already built to code. There are no surprises.
The Timeline: From Permit Approval to Final Inspection
A typical residential roof replacement timeline looks like this:
Week 1: Permit submission. We submit the application within a few days of your project approval. Most municipalities acknowledge receipt within 1-2 business days.
Week 2-3: Permit review and approval. The municipality reviews specifications and either approves or requests clarifications. We handle any back-and-forth. Expect approval by the end of week 2 or early week 3 for straightforward residential projects.
Week 4: Scheduling and preparation. Once approved, we schedule the work based on weather and crew availability. We notify you of the exact start date and coordinate any access requirements.
Week 4-5: Installation. Weather dependent, most residential roof replacements take 2-4 days. We schedule the initial underlayment inspection partway through and the final inspection after the roof is complete and all cleanup is done.
Day of final inspection: Approval. The inspector walks the roof, checks attic ventilation, reviews flashing, and signs off. If any minor issues arise, we address them immediately. The inspector then issues the Certificate of Compliance.
Week 5-6: Final documentation. You receive your complete permit file, inspection reports, warranty documentation, and maintenance guidelines.
Commercial roofing projects typically add 1-2 weeks because the scope is larger and code review is more detailed. We provide a project-specific timeline before work begins.
Common Code Violations We Help You Avoid

In our years serving Brookfield and surrounding areas, we’ve identified recurring violations that cause inspection failures and costly corrections:
Insufficient ventilation. Homeowners often think soffit vents are optional or block them with insulation. Code requires both intake and exhaust ventilation in the correct ratio. We verify this before and after installation.
Improper flashing at valleys and penetrations. Valleys where two roof planes meet are notorious leak points. Flashing must overlap and be fastened according to specific patterns. We use manufacturer-approved valley installation methods.
Wrong underlayment type or installation. Some contractors use felt instead of synthetic underlayment to save money, or they don’t overlap it correctly. Synthetic underlayment is required in Wisconsin for most residential applications and must be installed with minimum 6-inch overlaps.
Missing drip edge. Drip edge along eaves and gables channels water into gutters and away from fascia. Missing or improperly installed drip edge causes fascia rot and water intrusion. Every edge of your roof should have drip edge.
Shingles fastened incorrectly. Shingles need a specific number of nails in specific locations to resist wind. Too few nails, and the roof fails in wind. Too many nails, and you’re fastening through the shingle incorrectly, creating leak points.
Improper slope on flat or low-slope roofs. Commercial roofs must have minimum slope (usually 1/4 inch per 12 inches) to drain water. We calculate and verify slope before installation to ensure proper drainage.
Attic insulation blocking ventilation. When soffit vents are installed, insulation can’t block air intake. We ensure ventilation baffles keep insulation at the correct distance from soffit vents.
We design installations that prevent every one of these issues.
Why Professional Installation Protects Your Investment
Your roof is one of the largest investments you’ll make in your property. Professional installation aligned with code ensures that investment lasts as long as the materials are rated.
An improperly installed roof fails early, even if high-quality materials were used. Water intrusion from poor flashing, ice dams from inadequate ventilation, or wind damage from insufficient fastening can all occur within just a few years. You’re then facing a second replacement far sooner than planned.
Code compliance works hand-in-hand with performance. The building codes exist because decades of roofing failures have revealed what works and what doesn’t in Wisconsin’s climate. Following code isn’t just legal; it’s following the lessons learned from thousands of failed roofs.
When we install your roof to code, you also maintain your warranty. Material warranties often require installation to code as a condition of coverage. An unpermitted or non-compliant installation can void warranties, leaving you without recourse if problems arise.
Additionally, a professionally installed, permitted roof documented with certificates of compliance is an asset when selling. Buyers and their lenders feel confident knowing the roof was done right and to code.
Your Roof Project’s Path Forward With Expert Exteriors
If you’re ready to replace your roof or tackle other exterior remodeling, we’re here to manage every aspect of permits and code compliance. You focus on selecting materials and timing; we handle the regulatory side.
Here’s how to move forward:
Schedule a free consultation. Visit https://www.expertexteriorswi.com or call us to discuss your project. We’ll assess your roof, identify code requirements, and walk you through the permit timeline.
Get a detailed estimate. We provide written estimates that clearly itemize materials, labor, and the permit process. No surprises, and no guesswork about what’s involved.
Let us manage permits and inspections. Once you approve the project, we handle every interaction with the municipality. You’re notified of key dates, but you’re not managing paperwork.
Enjoy your new roof. When installation is complete and the inspector approves, you’ll have a roof that meets every code requirement, backed by warranties and documentation.
We serve residential and commercial property owners across Brookfield and surrounding Wisconsin communities. Whether you’re replacing a residential roof with architectural shingles or installing a commercial TPO system, we bring expertise, code knowledge, and a commitment to doing the job right the first time.
Your roof protects everything underneath it. Let’s make sure it’s done to code and built to last.