
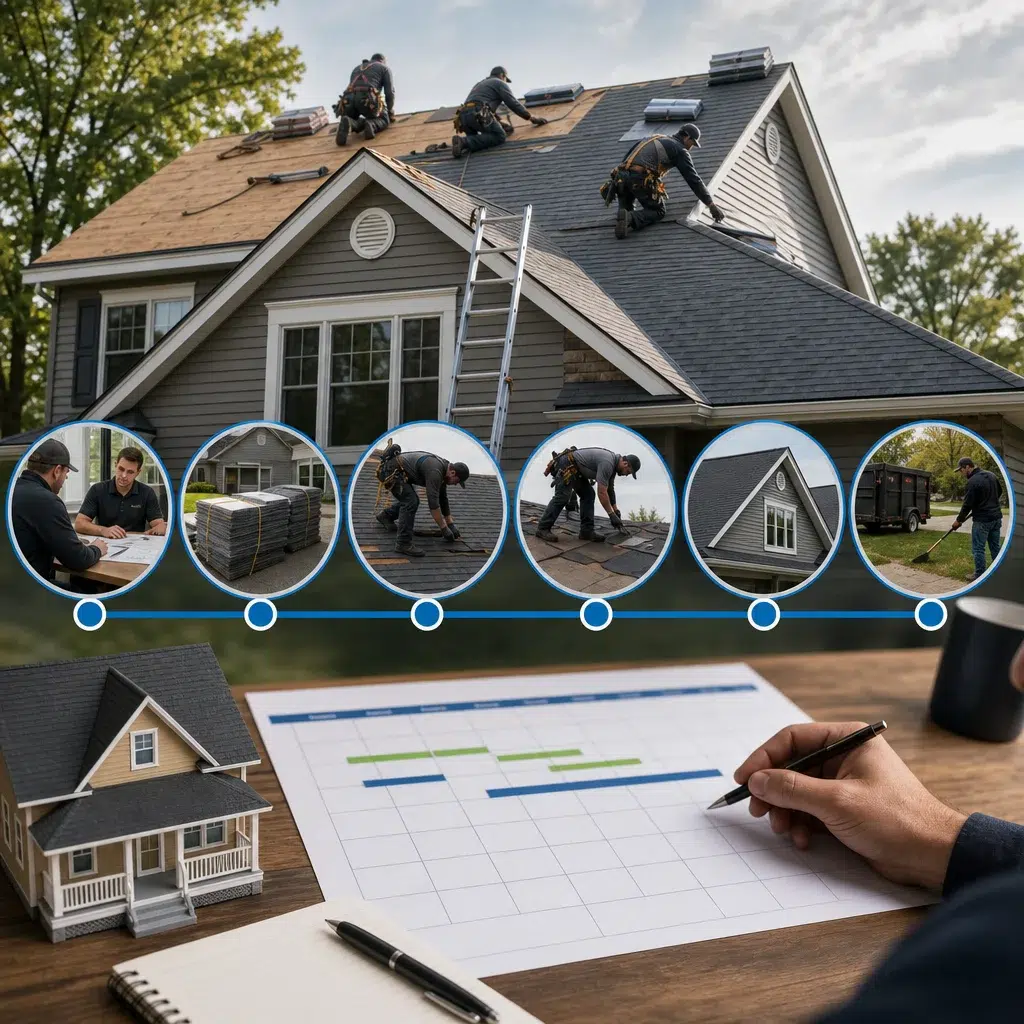
Residential Roof Replacement Timeline: What to Expect for Your Home
Why Your Roof Replacement Timeline Matters
Understanding the residential roof replacement timeline helps you plan your schedule, budget, and expectations. A roof replacement isn’t a quick weekend project, but it’s also not something that should drag on indefinitely. At Expert Exteriors, we’ve completed hundreds of residential roofing projects across Brookfield and surrounding areas, and we know exactly what homeowners need to understand about the process.
This guide walks you through each phase of a roof replacement, from the initial assessment to final inspection, so you know what’s coming and can prepare accordingly.
Your roof replacement timeline affects more than just your schedule. It impacts how your family adapts to the work happening above, when you need to arrange yard access for equipment, and how long you’ll experience noise and activity around your property. Understanding the timeline also helps you coordinate with other projects, plan vacations, or arrange childcare if needed.
Beyond logistics, knowing the expected timeline protects you from unrealistic contractor promises. Anyone claiming they can replace a roof in a single day isn’t being honest about the work involved. A proper roof replacement requires multiple steps, weather-dependent conditions, and quality control measures that take time.
When you understand what to expect, you’re also better equipped to spot red flags. Contractors who seem rushed or who skip inspection steps are warning signs that corners are being cut. We approach every project with the understanding that doing it right takes doing it thoroughly, even if it means a slightly longer timeline than contractors cutting costs.
Action item: Before talking to any roofer, write down your scheduling constraints (travel plans, events, seasonal work) so you can communicate them upfront rather than discovering timeline conflicts mid-project.
Pre-Replacement Assessment and Planning Phase
Before any work starts on your roof, we conduct a thorough assessment and develop a detailed plan. This phase typically takes 3-7 business days from your initial consultation to project approval.
During the assessment, we inspect your existing roof to evaluate its current condition, identify any underlying damage to decking or structure, and determine what materials and labor you’ll need. We also assess attic ventilation, check for any signs of moisture infiltration, and verify that your roof structure can support the new installation method you’ve chosen.
We then prepare a detailed estimate that includes:
- Material specifications (shingle type, color, underlayment, flashing)
- Labor timeline based on roof size and complexity
- Equipment and access requirements
- Any necessary repairs to roof decking or structural components
- Permit requirements for your area
This isn’t a rushed process. We ask questions about your preferences, budget, and timeline. We explain material options and help you understand the differences between standard three-tab shingles, architectural shingles, and premium options. We also discuss whether your existing roof needs to be fully removed or whether layering is possible (though we typically recommend removal for better inspection and longevity).
Once you approve the estimate and we secure any necessary permits, we schedule your project and provide you with a start date, expected duration, and a detailed preparation checklist.
Action item: Ask your roofing contractor for a written timeline that includes start date, estimated completion date, and any weather-dependent contingencies before you sign the contract.
Preparation Work and Weather Considerations
About a week before your scheduled start date, we contact you to confirm the timeline and provide final instructions. Preparation work on your property typically takes 1-2 days and includes:
- Marking access routes for our crews and equipment
- Protecting landscaping, flower beds, and outdoor fixtures
- Securing or removing any items from your yard that could be damaged
- Arranging parking for our work vehicles and dumpster placement
- Confirming attic access and discussing any interior concerns
Weather is the biggest variable in roof replacement timing. In Wisconsin, we typically avoid roofing between November and March due to cold temperatures, ice risk, and shorter daylight hours. Spring and fall are ideal, while summer can work but may require scheduling around rain patterns. We've created a seasonal guide that explains the best time for roof replacement in Wisconsin if you’re planning ahead.
When we start your project, we monitor weather forecasts continuously. If rain is predicted, we may pause work to protect your home or accelerate the schedule if we’re ahead of plan. Cold weather that dips below 40 degrees can make roofing materials brittle and difficult to work with, so we stop work and reschedule. While this might feel frustrating, it protects the quality of your new roof and prevents installation mistakes.
Action item: Ask your contractor what their weather contingency plan is. Do they reschedule? Do they refund work days if delays occur? How many contingency days are built into the estimate?
The Actual Roof Replacement Process
The physical roof replacement happens in distinct stages. Here’s what happens on your property:
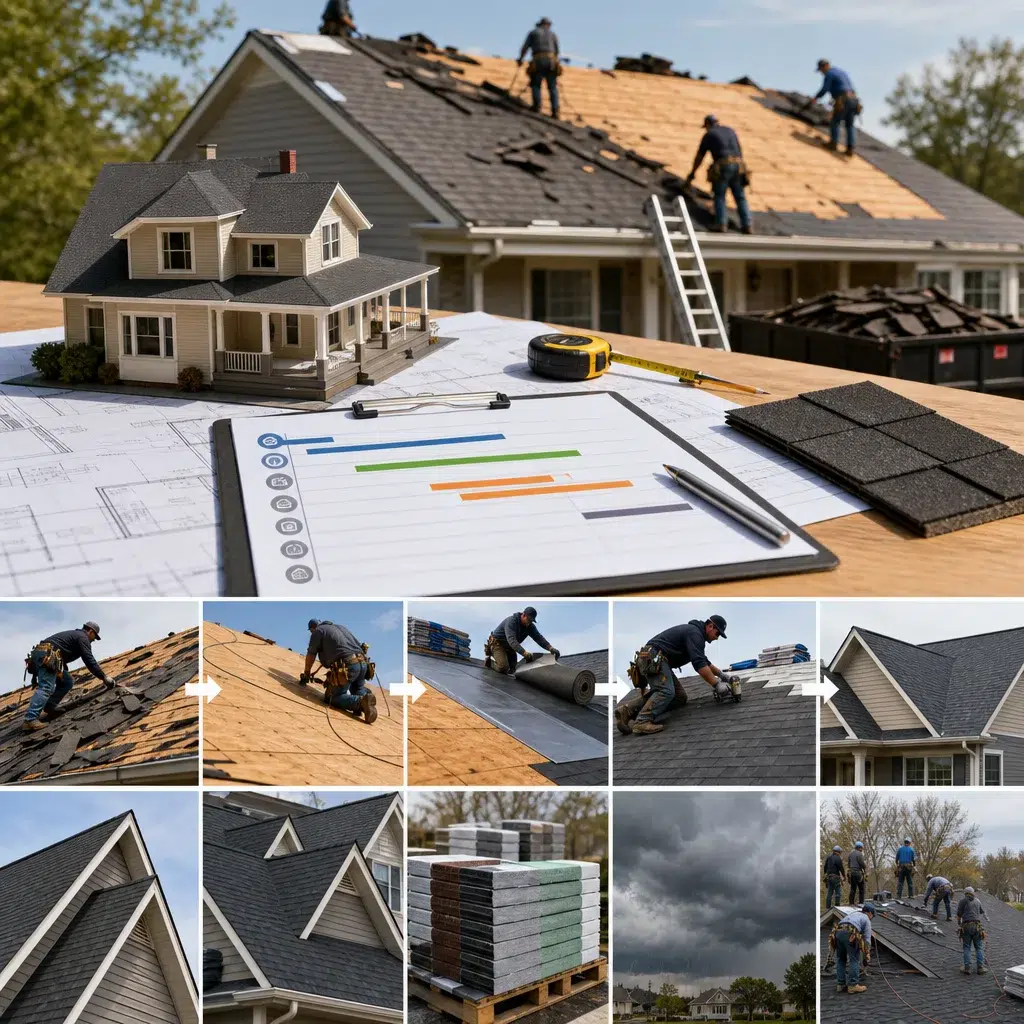
Tear-off and Inspection (Day 1-2) Our crew removes the existing shingles, underlayment, and any damaged decking. This is the loudest part of the project and typically happens during daylight hours. As we remove the old roof, we inspect the wood decking beneath and identify any rotted areas that need repair.
Deck Repair and Preparation (Day 1-2) If we find soft or damaged decking, we cut out the affected sections and replace them with new pressure-treated plywood. We verify that the entire roof structure is sound and properly ventilated. This step is critical because a new roof installed over compromised decking will fail prematurely.
Underlayment Installation (Day 2-3) We install a waterproof underlayment (typically synthetic) across the entire roof deck. This acts as a second line of defense against water infiltration. Proper underlayment installation is often where quality contractors distinguish themselves from others cutting corners.
Flashing and Edge Installation (Day 2-3) We install new flashing around roof penetrations (chimneys, vents, skylights), and we install drip edge along all roof edges. Flashing installation is where most roof leaks originate if done incorrectly, so we pay meticulous attention to overlapping, sealant application, and fastener placement.
Shingle Installation (Day 2-4) Our crew installs shingles row by row, starting from the lowest point of the roof and working upward. Each shingle is fastened according to manufacturer specifications, and we stagger the pattern to prevent water channeling. Premium shingles have longer warranty periods and better wind resistance.
Ridge Cap and Final Details (Day 4-5) We finish the roof with ridge caps and install any additional accessories like boot covers for roof penetrations. We ensure all fasteners are properly sealed and all edges are finished.
Cleanup and Haul-Away (Day 5) Our final day involves removing the dumpster, sweeping up debris, and conducting a site walkthrough with you.
Each stage must be completed properly before moving to the next. We don’t rush through flashing installation to save time on shingles, and we don’t skip inspection steps.
How Long Our Roof Replacement Projects Typically Take
For a typical residential roof between 1,500 and 2,500 square feet, we estimate 5-7 business days of actual work. This includes tear-off, any minor repairs, underlayment, flashing, shingle installation, and final cleanup.
However, “business days” doesn’t mean 5-7 consecutive days on your property. Weather delays, permit issues, or material deliveries can extend the calendar timeline to 2-3 weeks. We always provide you with both the estimated work days and a realistic calendar window.
Smaller roofs (under 1,500 square feet) might complete in 4-5 days. Larger roofs (over 3,000 square feet) or roofs with multiple penetrations, complex angles, or existing damage requiring extensive decking repair can take 7-10 days.
Commercial flat-roof projects using materials like EPDM or TPO often follow different timelines. These typically require 3-5 days depending on the roof size and complexity, though curing times between layers may extend the overall project.
Action item: Ask your contractor to break down the estimate by each phase (tear-off, repairs, underlayment, flashing, shingles) so you understand where the time is actually spent.
Factors That Affect Your Project Duration
Several variables influence how long your specific project takes:
Roof Pitch and Complexity Steep roofs take longer than low-slope roofs simply because crews move slower on steep angles. Roofs with multiple valleys, dormers, or sections require more planning and flashing work. A simple rectangular roof completes faster than a roof with six angles and multiple peaks.
Existing Roof Condition Roofs with extensive underlying damage require more decking repair time. If we discover rot affecting structural beams or ventilation issues requiring correction, that adds days to the project. A newer roof with minor damage completes faster than an aging roof with systemic problems.
Material Choice Three-tab shingles install faster than architectural or premium shingles because they’re lighter and require simpler fastening patterns. Luxury materials with staggered patterns or specialty features take longer. The material difference is usually 1-2 days for residential roofs.
Weather and Seasonality Rain delays are the most common factor extending timelines. Cold snaps can stop work entirely. Summer humidity doesn’t delay installation but may require work scheduling around peak heat hours. Spring and fall typically offer the most reliable project windows.
Permit Requirements Some jurisdictions require inspections at multiple stages. Waiting for inspector availability can add 3-5 days to the overall calendar timeline even though it doesn’t increase actual work days.
Access and Site Conditions Properties with limited driveway space for equipment or challenging terrain require more setup time. Mature trees requiring protection add complexity. Properties near power lines need extra precautions.
Understanding these factors helps you plan realistically. If your roof is large, steep, and requires extensive decking repairs during fall (when inspectors are busy), expect a 3-4 week calendar timeline even if the actual work is 6-7 days.
Action item: Provide your contractor with photos and details about your roof’s condition before the assessment. It helps them build a more accurate timeline.
What Happens After the New Roof Installation
Once shingles are installed and your roof is weatherproof, the project isn’t quite finished. Post-installation activities typically take 2-3 additional days:
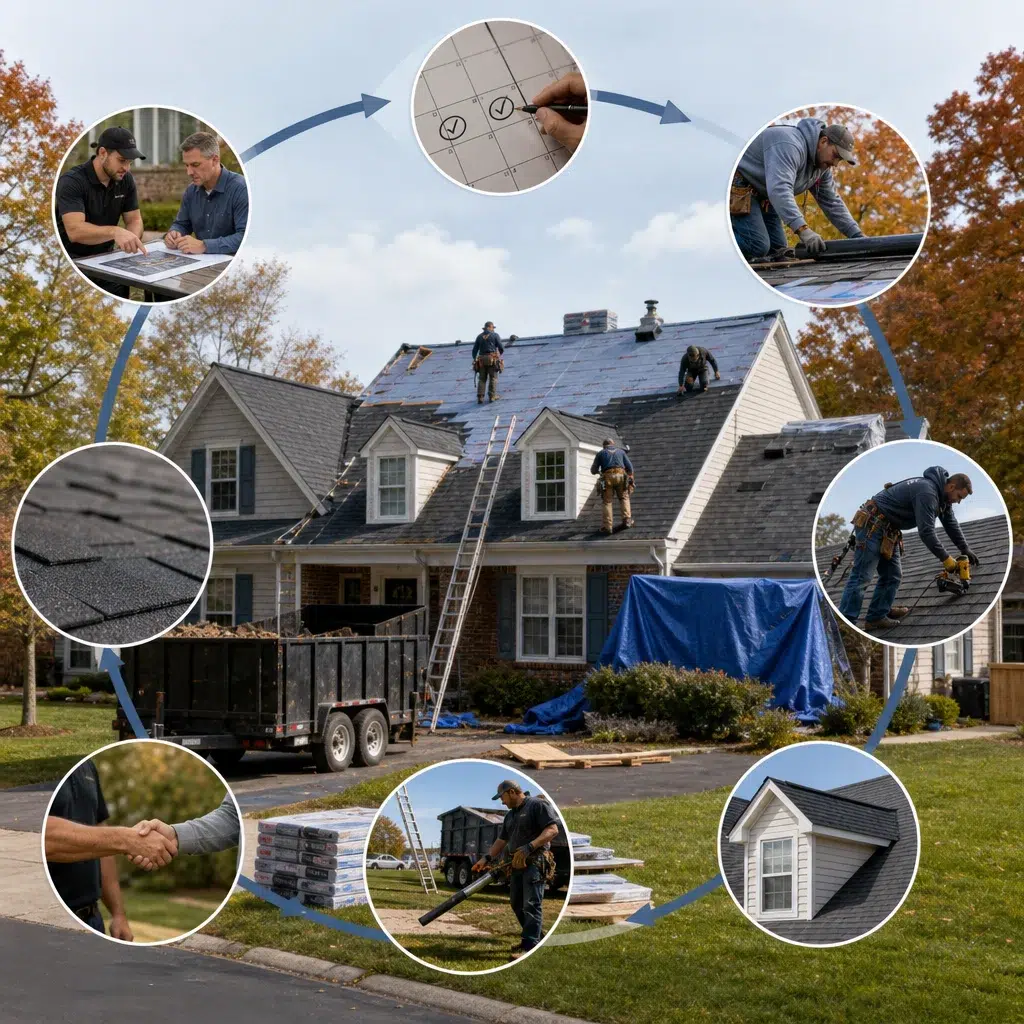
Debris Collection and Final Cleanup We use magnets to sweep your yard and driveway for any nails, flashing scraps, or debris. We remove the dumpster and dispose of old roofing materials responsibly. This might seem minor, but it’s where quality contractors show they value your property as much as the roof itself.
Interior Inspection and Attic Review We walk through your attic to verify proper ventilation and check that no moisture issues developed during installation. We confirm that all penetrations are sealed properly and that ventilation paths are clear.
Documentation and Material Certificates We provide you with the roofing material’s warranty documentation, installation specifications, and any architectural shingles’ color certification. These documents are important if you ever need to file an insurance claim or if you sell your home.
Owner Walkthrough We conduct a thorough walkthrough with you, pointing out your new flashing installations, explaining maintenance recommendations, and addressing any questions. We show you how to identify any issues that might require future attention.
Protecting Your Property During Replacement
Safety and property protection during roof replacement are non-negotiable for us. Here’s how we protect your home:
Dumpster and Equipment Placement We position the dumpster strategically to minimize impacts on your property and sight lines. We use tarps under equipment drop zones and take precautions to prevent damage to your driveway or landscaping.
Neighbor Considerations We maintain professional appearance and communication with your neighbors. We ensure debris doesn’t migrate to adjacent properties and keep noise to reasonable daytime hours.
Interior Protection If we need attic access, we protect your interior with drop cloths and caution tape to prevent accidental debris intrusion. We protect HVAC systems and any interior elements visible from open attic access.
Hazard Identification We identify electrical lines, satellite dishes, and other hazards before work begins. We map out safe work zones and establish clear communication protocols with your household about which areas are off-limits.
Pets and Household We confirm pet locations and secure access to work areas. We notify you about timing of the loudest work so you can plan accordingly if you work from home or have sensitive family members.
Action item: The week before your project starts, take photos of your property’s current condition. This protects you if any damage occurs and provides a baseline for documentation.
Quality Inspections and Final Walkthrough
We conduct multiple inspections throughout the project, not just at the end. This approach catches issues early rather than discovering problems after crews have left.
Mid-Project Inspection After underlayment installation but before shingles go down, we inspect the entire roof deck, flashing placement, and ventilation. Any issues discovered here are corrected before they’re covered by new shingles.
Installation Inspection As shingles are installed, our crew lead walks sections of the roof daily to verify proper fastening, alignment, and overlap. We check that nail placement follows manufacturer specifications exactly.
Final Walkthrough Before we leave your property, we conduct a thorough walkthrough with you. We inspect the entire roof from the ground and from your attic. We check that all flashing is sealed, valleys are protected, and gutters are clean. We confirm ridge caps are aligned and all roof penetrations are properly sealed.
Post-Installation Photo Documentation We photograph key areas of your installation, including difficult sections, flashing details, and overall roof appearance. These photos are part of your project record and can be valuable for warranty claims.
Manufacturer Inspection Verification For roofing materials that offer extended warranties tied to professional installation verification, we ensure all manufacturer specifications are met and documentation is complete.
Warranty and Post-Installation Support
Your new roof comes with multiple layers of protection. The roofing material typically includes a manufacturer warranty (25-50 years depending on material type) that covers defects in the shingles themselves. We provide a workmanship warranty that covers installation quality for 10 years.
Here’s what you need to know about your warranties:
Material Warranty Coverage Manufacturer warranties typically cover defects like manufacturing flaws, granule loss beyond normal weathering, and material failure. They don’t cover weather events, lack of maintenance, or impacts. Premium architectural shingles often offer 30-50 year warranties, while standard shingles typically offer 25-year coverage.
Workmanship Warranty Our 10-year workmanship warranty covers installation defects. If improper installation causes a leak or issue, we stand behind our work and make corrections at no cost. This is why choosing a quality local contractor matters more than selecting based on price alone.
Maintenance Recommendations We recommend annual inspections to identify branches rubbing shingles, debris accumulation, or flashing issues before they become problems. We suggest professional cleaning if heavy moss or algae growth occurs. Gutters should be cleaned twice yearly to prevent water backup damage.
When to Contact Us You should reach out if you notice water staining on ceilings or attic, granule loss that seems excessive, lifted or curled shingles, or flashing separation. Early reporting prevents small issues from becoming major problems.
Ongoing Support We’re available to answer warranty questions, discuss insurance claims if weather damage occurs, and provide maintenance recommendations throughout your warranty period. When you work with us, you’re not just getting a new roof; you’re getting a partner in maintaining your home’s exterior.
Action item: Schedule a professional roof inspection annually in fall after leaf season to catch any issues early and confirm your roof is maintaining its integrity.
At Expert Exteriors, we believe that understanding your roof replacement timeline empowers you to make better decisions and prepare your household appropriately. Whether you’re replacing a residential roof or managing a commercial roofing project, we’re here to guide you through each phase with transparency and professional expertise. If you’re ready to discuss your roof replacement project and get a detailed timeline specific to your home, we’d welcome the conversation.
For further reading: Questions to ask your roofer.