
Top 8 Best Ways to Protect Your Property During Roof Replacement
1. Clear the Surrounding Area and Secure Loose Items
Before our crew arrives, walk your property and identify anything that could become a hazard or get damaged. Roof work creates vibrations and movement. Items hanging on walls, loose trim pieces, and unsecured outdoor decorations can shift or fall.
Start by removing or securing:
- Outdoor furniture, grills, and planters away from the immediate work zone
- Hanging baskets, signs, or brackets attached to the exterior walls
- Loose gutters, downspouts, or damaged fascia (we’ll replace these properly, but temporary securing prevents accidents)
- Satellite dishes, antennas, or exterior light fixtures that aren’t part of the replacement plan
- Garden hoses, ladders, and tools stored against the house
A practical example: One homeowner had three planters sitting on a ledge near the gutterline. When our crew began work, vibrations from nail guns shifted them. We caught it before they fell, but securing them beforehand would have eliminated the risk entirely.
Clear a perimeter of at least 10 feet from the base of your home. This gives our team space to operate safely and gives falling debris room to land away from landscaping.
Your action: Walk the perimeter with a checklist this week. Snap photos of items in questionable positions and move them before we schedule the work.
2. Protect Your Landscaping and Garden Beds
Heavy equipment, foot traffic, and falling debris take a toll on landscaping. Flower beds, shrubs, and young trees near the home’s perimeter are particularly vulnerable.
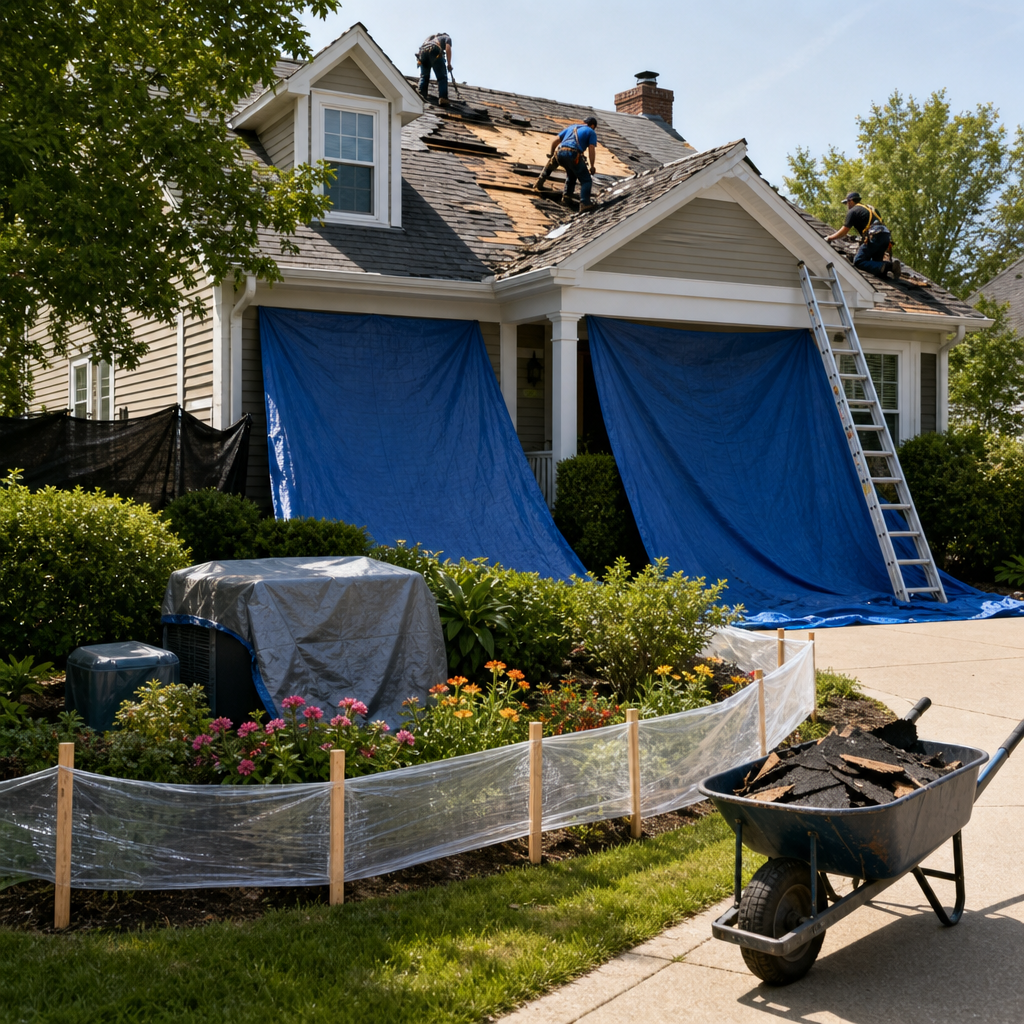
Create a buffer zone using temporary fencing or plywood barriers:
- Install sturdy plastic fencing or chicken wire around flower beds and shrub clusters
- Place plywood sheets under the eaves to catch debris and protect mulch areas
- Mark areas off limits to crew members with clear signage
- Consider protective netting if you have fragile or newly planted vegetation
Debris from old roofing material, shingles, and nails creates cleanup challenges in mulch beds. Plywood catches much of it on the surface, making cleanup faster and protecting plants underneath. We coordinate with crews to minimize foot traffic through landscaped areas, but physical barriers make the real difference.
One commercial client had a prized landscaping feature on the north side. We used temporary barriers and protective coverings. Final cleanup took 30 minutes instead of the usual few hours, and not a single plant was damaged.
Your action: Purchase or rent plywood sheets and fencing materials now. Position them before work begins, not after damage occurs.
3. Cover Exterior Units and HVAC Systems
Your HVAC condenser, pool equipment, air handlers, and other exterior units sit directly below or near the roofline. Falling debris, nails, and heavy shingle fragments can damage expensive equipment.
Protective measures:
- Construct sturdy plywood enclosures around HVAC condensers and outdoor air handlers
- Cover pool equipment, generators, and utility boxes with heavy tarps secured tightly with bungee cords
- Shut off and cover exhaust vents or intake openings on exterior units
- Ask your roofing contractor about equipment relocation if units are directly in the fall zone
HVAC units cost $3,000 to $8,000 to replace. A $50 tarp and an hour of preparation prevents that expense entirely. Professional roofing contractors should coordinate this with you, but your proactive protection adds another layer of safety.
We’ve seen a single roofing nail puncture an HVAC condenser coil, requiring replacement. A simple plywood frame around the unit would have prevented it entirely.
Your action: Get quotes for temporary HVAC covers from your equipment supplier or fabricate simple plywood boxes. Test that water can drain if rain falls during the project.
4. Establish a Safe Debris Management Plan
Roofing debris accumulates quickly. A typical residential roof replacement generates 3 to 5 tons of old material. Without a solid plan, debris ends up in storm drains, landscaping, and neighboring properties.
Work with your roofing contractor to confirm:
- Where dumpsters or debris containers will be positioned (away from driveways and landscaping where possible)
- Whether debris netting will be used to contain falling material
- Daily cleanup protocols and the frequency of debris removal
- Permission to access neighboring properties if debris crosses the property line
- Final site cleanup and debris disposal timeline
Professional contractors like us take debris seriously. We use protective netting, position containers strategically, and clean daily. But communication upfront prevents confusion and keeps neighbors happy. One residential project in Brookfield nearly created a dispute with the neighbor until we clarified that we’d hired a debris sweeping service to patrol the perimeter daily.
Ask about magnetic sweepers, too. These tools pick up nails and metal fragments from driveways and landscaping after the job is done.
Your action: Schedule a pre-project site walk with us. Discuss debris placement and get our debris removal timeline in writing.
5. Secure Valuables and Important Documents Inside
Roof replacement work creates entry and exit points. Crews access the attic, move through hallways, and occasionally need interior access for ventilation work. Secure your valuables and reduce the temptation or accident risk.
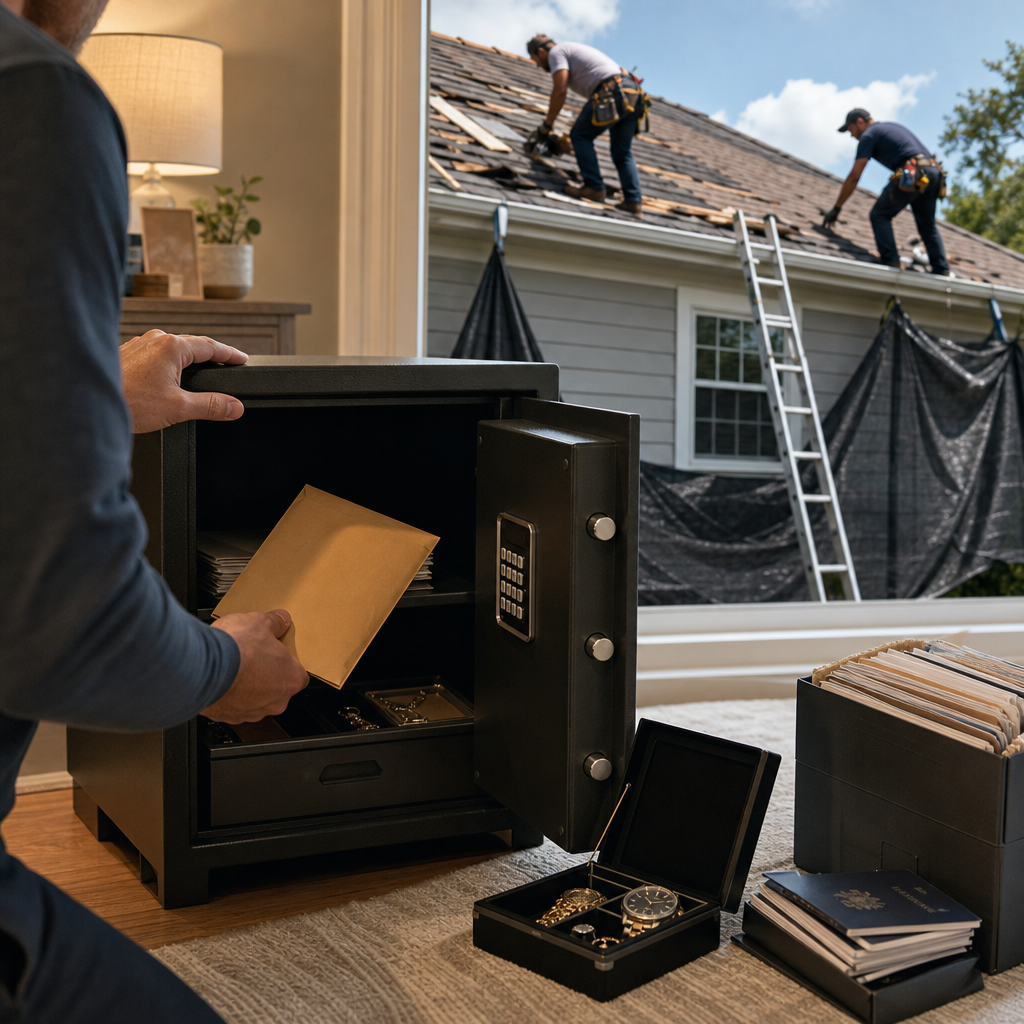
Simple steps:
- Lock bedroom doors and other private spaces not needed for roof access
- Store jewelry, cash, and electronics in a secure location
- Move valuable artwork or decorative items away from walls where vibration might affect them
- Photograph and document valuable items before work begins (useful for insurance if anything unexpected occurs)
- Secure important documents in a fireproof safe or off-site storage
We only work with vetted, background-checked crew members, and we maintain insurance that covers any accidental damage. But securing your valuables is standard home protection during any construction work.
One commercial client had valuable office equipment near an attic access point. We relocated it together before the project started. It took 20 minutes and gave everyone peace of mind.
Your action: Create a basic inventory of valuable items and store a photo copy off-site. It’s useful for insurance purposes regardless of roof work.
6. Prepare Your Attic and Interior Spaces
Attic preparation prevents dust and debris from entering your living spaces. Roof replacement creates significant dust, particularly when old shingles are removed.
Steps to prepare interior spaces:
- Seal attic access doors or openings with plastic sheeting and duct tape
- Close interior doors leading to work zones
- Shut off return air vents in rooms where crew members will be working to prevent dust circulation
- Cover exposed insulation or stored items in the attic with tarps
- Ask if your contractor will use air filtration equipment during the project
Dust penetration is the most common complaint we hear from homeowners who skip this step. Sealing your spaces keeps dust from settling on furniture, electronics, and bedding. If you have a commercial building, dust can affect office equipment and create cleanliness issues.
We recommend that our clients purchase temporary plastic sheeting from any home improvement store. It’s inexpensive, easy to install, and makes a measurable difference in interior cleanliness.
Your action: Buy plastic sheeting and duct tape this week. Seal your attic access point before work begins.
7. Choose Professional Roofing with Comprehensive Protection Protocols
Not all roofing contractors approach property protection the same way. Some cut corners to save time. Others lack the equipment and experience to minimize risk effectively.
When selecting a roofing contractor, verify they offer:
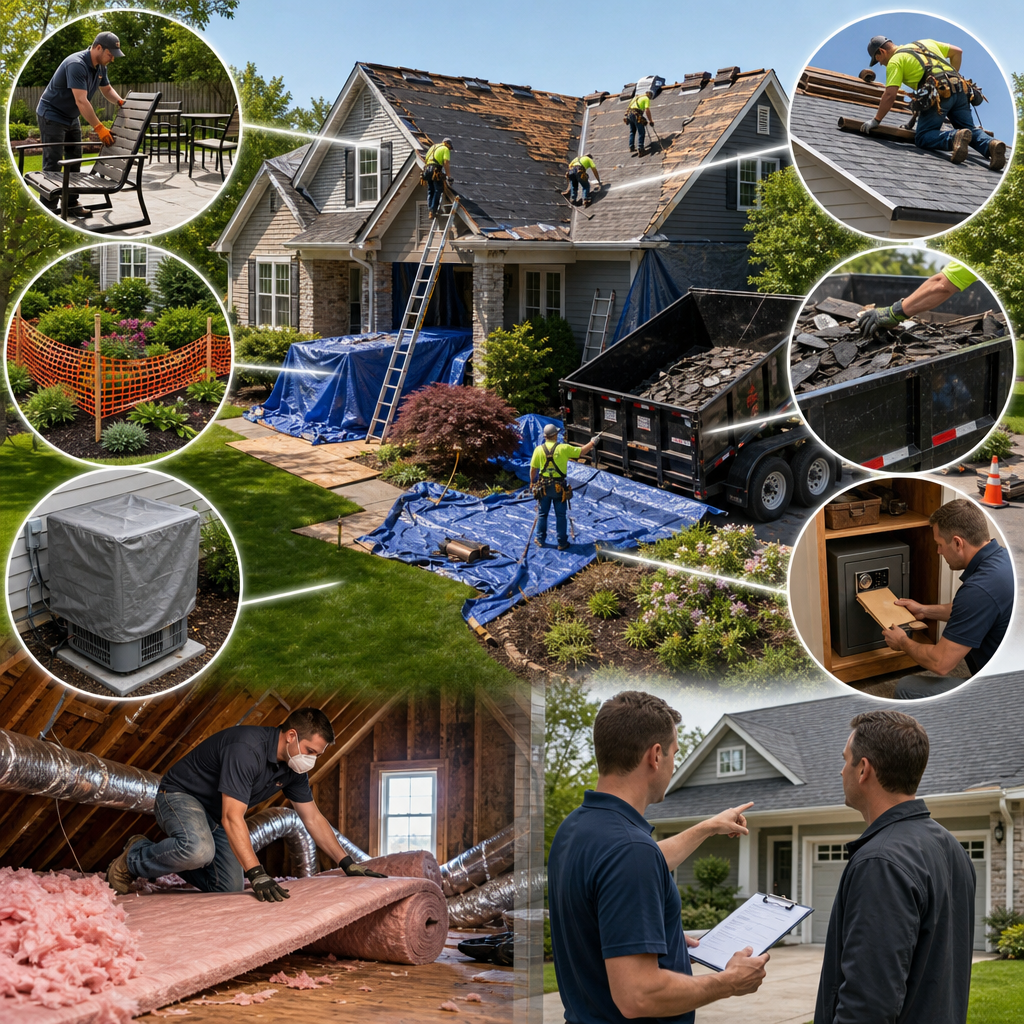
- Protective netting and debris containment equipment as standard practice
- Clear communication about site access, noise, and work hours
- Comprehensive liability insurance and worker’s compensation coverage
- A detailed project timeline with daily cleanup schedules
- Experience with both residential and commercial projects (if applicable)
- References from recent projects in your area
Here at Expert Exteriors, we bring more than a crew and ladders to every roof replacement. We arrive with a full protection protocol: tarps for landscaping, netting for debris containment, daily cleanup, and detailed communication from start to finish. Our residential roof replacement process incorporates property protection as a core standard, not an add-on.
For commercial properties, our commercial roofing expertise in EPDM and TPO systems includes comprehensive site management that protects your business operations and liability exposure. We’ve completed dozens of commercial projects in Brookfield with zero property damage claims, because we treat your property like our own.
Many contractors promise protection but deliver inconsistently. We document our protection measures with photos and reports. You get transparency and accountability every single day.
Your action: Ask any contractor you interview for references that specifically mention property protection during the project. Call those references directly.
8. Schedule Pre and Post-Replacement Inspections
Inspections bookend your project and create accountability. A pre-replacement inspection documents existing conditions. A post-replacement inspection confirms that the work meets agreed-upon standards and that property protection measures were effective.
What pre-replacement inspections should cover:
- Photographic documentation of the existing roof condition and surrounding areas
- Identification of any pre-existing damage to landscaping, gutters, or exterior features
- Confirmation of protection measures you’ve implemented
- Review of access points and work zone boundaries
What post-replacement inspections should cover:
- Confirmation that all new roofing material is properly installed (shingles, flashing, ventilation)
- Inspection of gutters, fascia, and soffits for damage during work
- Detailed review of protected areas for any unexpected damage
- Final cleanup verification
- Walkthrough of interior spaces for dust or damage
We include pre and post-replacement inspections as standard in all of our projects. You receive a detailed report documenting the initial condition, the completed work, and any issues identified. This protects both you and us by creating a clear record.
One homeowner caught a minor gutter issue during the post-inspection that wasn’t part of the original scope. Because we documented everything with photos, we could address it immediately and demonstrate that it occurred during our work (making it our responsibility, not a pre-existing condition).
Your action: Request that your roofing contractor provide written pre and post-inspection reports. Schedule these for the day before work begins and the day after final cleanup.
For further reading: Gutters and fascia protection, Fascia and soffit protection, Coordinated exterior project management.