
Best Steps for Filing Your Storm Damage Insurance Claim Successfully
Understanding Storm Damage Claims: What Property Owners Need to Know
When severe weather strikes Brookfield and the surrounding areas, property owners face an overwhelming situation. Your roof might be damaged, siding torn away, gutters compromised, or all of the above. Beyond the immediate stress, you’re facing the complex process of filing an insurance claim. We’ve helped countless homeowners and business owners navigate this path, and we know firsthand that the difference between a successful claim and a rejected one often comes down to preparation and documentation. This guide walks you through each essential step to maximize your claim payout and get your property restored quickly.
A storm damage insurance claim is your formal request to your insurer to cover repairs resulting from weather events like hail, high winds, heavy rain, or lightning. Your homeowner’s or commercial property insurance policy typically covers sudden, accidental damage from storms, though coverage varies by policy and region.
The key thing to understand is that insurers don’t simply take your word for damage. They require evidence, verification, and sometimes independent assessment. Your claim’s success depends on how thoroughly you document what happened and the extent of the damage. Many property owners don’t realize that the first few hours after a storm are critical. Moving too slowly or skipping documentation steps can result in claim denials or significantly reduced payouts.
It’s also important to know that your policy has specific deadlines for filing. Most states require claims to be filed within one to three years of the damage occurring, but filing promptly protects your interests and preserves evidence while memories and conditions are fresh.
Why Professional Documentation Matters for Your Claim Success
Insurance adjusters review thousands of claims annually. They’ve seen what legitimate damage looks like and what fabricated or exaggerated damage looks like. Professional-quality documentation gives your claim credibility and prevents the adjuster from questioning whether damage is actually storm-related.
Here’s the practical reality: a blurry photo taken from ground level might show your roof is damaged, but an aerial photo showing the specific hail impact pattern, surrounding undamaged properties, and the extent of loss tells a complete story. Video footage showing the damage from multiple angles and close-ups of broken shingles, punctures, or dents gives the adjuster confidence in your claim.
We recommend treating documentation like you’re building a legal case. The adjuster might accept a estimate from an unlicensed handyman, but they’ll give significantly more weight to assessments from licensed contractors with detailed scope of work and industry-standard repair estimates. This is where professional involvement from the start becomes invaluable.
Step 1: Ensure Safety and Prevent Additional Damage
Before you grab a camera or contact anyone, your immediate priority is safety and preventing the damage from getting worse. Don’t climb onto a damaged roof yourself. Don’t enter areas where electrical lines might be compromised or structural integrity is questionable.
If there’s an active safety hazard like a large tree branch hanging over your roof or a section of siding hanging loose, address the immediate danger first. Document what you did and why, as insurers understand that emergency measures to prevent additional loss are sometimes necessary and reasonable.
After securing safety, focus on preventing further damage. If your roof has holes, tarping it temporarily prevents water from entering your home and causing mold, ceiling damage, or structural rot, which would complicate your claim significantly. If siding is torn away, cover the opening if possible. These preventive measures actually strengthen your claim because they demonstrate responsible property management.
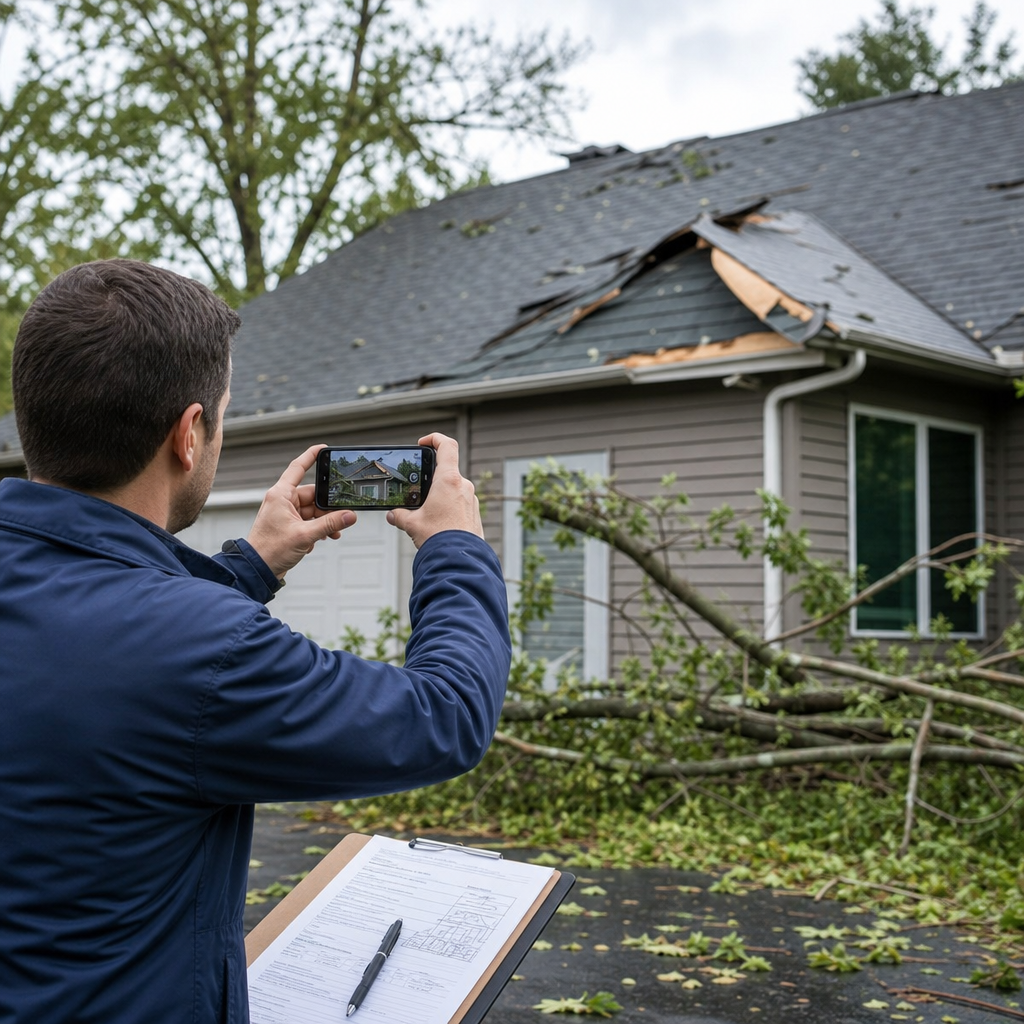
Step 2: Document All Damage with Photos and Video Evidence
Once the property is safe, document everything before anything is repaired or removed. Use your smartphone or camera to capture:
- Wide shots showing the overall condition of the damaged area and surrounding properties
- Close-up photos of specific damage points, showing detail and scale
- Photos showing the date (use your phone’s timestamp feature)
- Video walkthroughs narrating what you’re seeing
- Photos of the damage from multiple angles
For roof damage, if it’s safe to do so from the ground, photograph the affected sections. For siding, fascia, soffit, and gutter damage, get clear images showing impact points, dents, cracks, or separations. Include context photos showing the undamaged portions of your property, which helps the adjuster understand the scope.
Don’t just take one or two photos and call it done. Adjusters routinely request additional angles or details if documentation is sparse. A comprehensive photo set prevents delays and follow-up requests that can stretch out your claim timeline.
Step 3: Review Your Insurance Policy Coverage Details
Pull out your actual insurance policy document or access it online through your insurer’s portal. This isn’t the marketing summary, but the full policy with coverage limits, deductibles, and exclusions listed.
Specifically, look for:
- Coverage limits for roof, siding, gutters, and fascia/soffit
- Your deductible amount
- Any exclusions or limitations (some policies exclude certain types of damage or have age-related restrictions)
- Special coverage riders that might apply
- Timeframe requirements for filing claims
Understanding your policy prevents disappointment later. Some older policies have lower coverage limits or higher deductibles than you might expect. Some exclude certain types of weather damage. Knowing this upfront helps you prepare realistic expectations and ask your agent clarifying questions before speaking with an adjuster.
Step 4: Contact Your Insurance Company Promptly
Don’t delay contacting your insurer. Most insurers have 24-hour claim hotlines specifically for storm damage. When you call, have ready:
- Your policy number
- The date and time the storm occurred
- A brief description of the damage
- Your contact information
The insurer will assign a claim number and schedule an adjuster visit. During this call, ask about the claims process timeline, what documentation they need, and whether they recommend getting contractor estimates before the adjuster visit.
Be factual and straightforward when describing damage. Don’t exaggerate or speculate about causes. Simply report what you observed, such as “The storm knocked off several shingles from the north side of the roof” rather than “The hail destroyed my roof.” Let the adjuster determine extent and causation.
Step 5: Gather and Organize Your Documentation
Create a organized file, either physical or digital, containing:
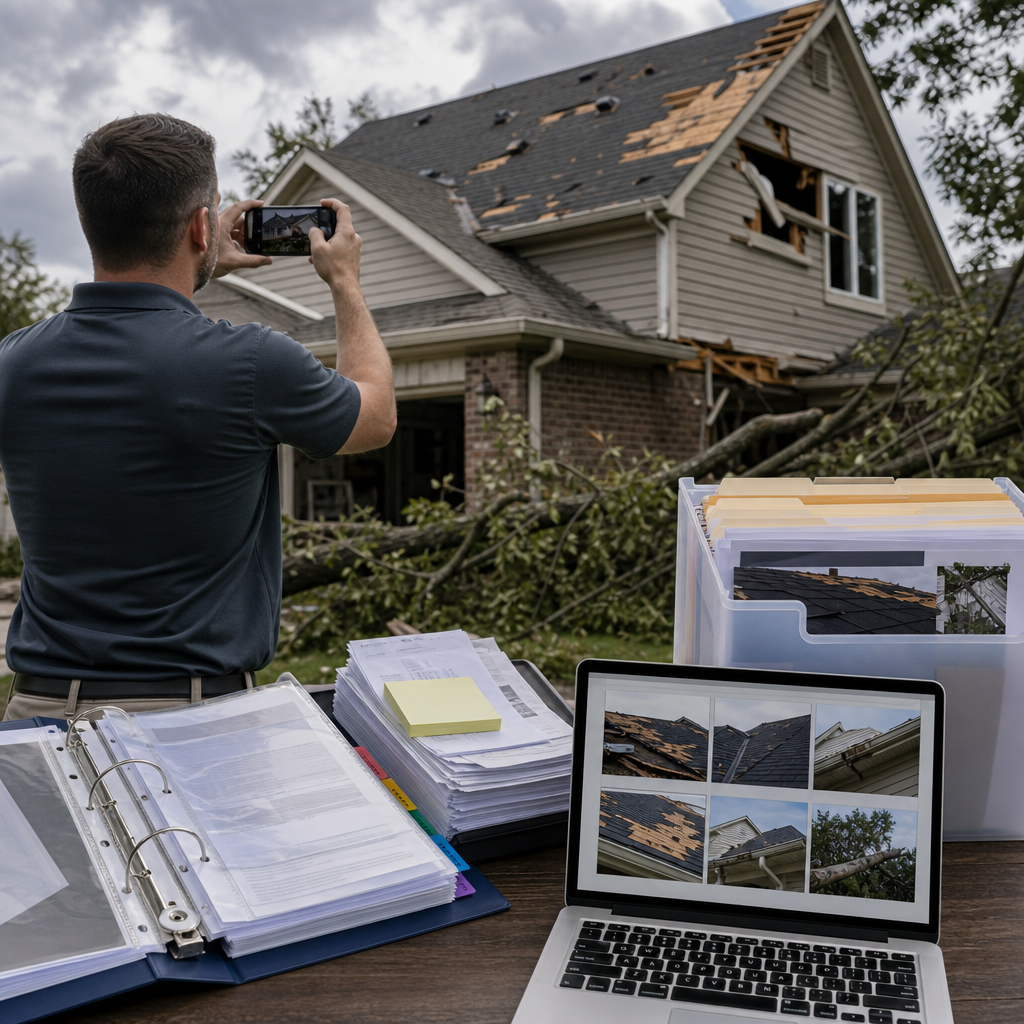
- Your insurance policy and declarations page
- The claim number issued by your insurer
- All photos and videos with dates
- Receipts for any emergency repairs or preventive measures
- Receipts for any temporary solutions (like tarps)
- Your written account of the damage
- Contractor estimates or assessments
Organization matters because adjusters often request specific documents, and having them immediately available speeds up the process. Digital organization using cloud storage ensures you have backup copies in case anything is lost.
If you’ve had any previous claims on the property, include those documents as well. They provide context for the adjuster and might be relevant if there’s existing damage.
Step 6: Work with Professional Contractors for Assessments
This is where our expertise becomes critical. Insurance adjusters assess damage, but they don’t provide repair estimates. You need detailed, professional repair estimates from licensed contractors. Don’t rely on general handyperson quotes, which carry little weight in claims.
When we perform damage assessments for storm claims, we provide detailed scope of work showing exactly what damage occurred, what materials are needed, the specific labor involved, and precise pricing. We’ve worked with hundreds of insurers and know what documentation they require and expect. Our estimates reference industry standards and material specifications that adjusters recognize and respect.
We recommend getting estimates from multiple qualified contractors, but having a professional assessment early in the process actually makes your claim stronger. The adjuster sees that you’ve taken the damage seriously and obtained credible repair information.
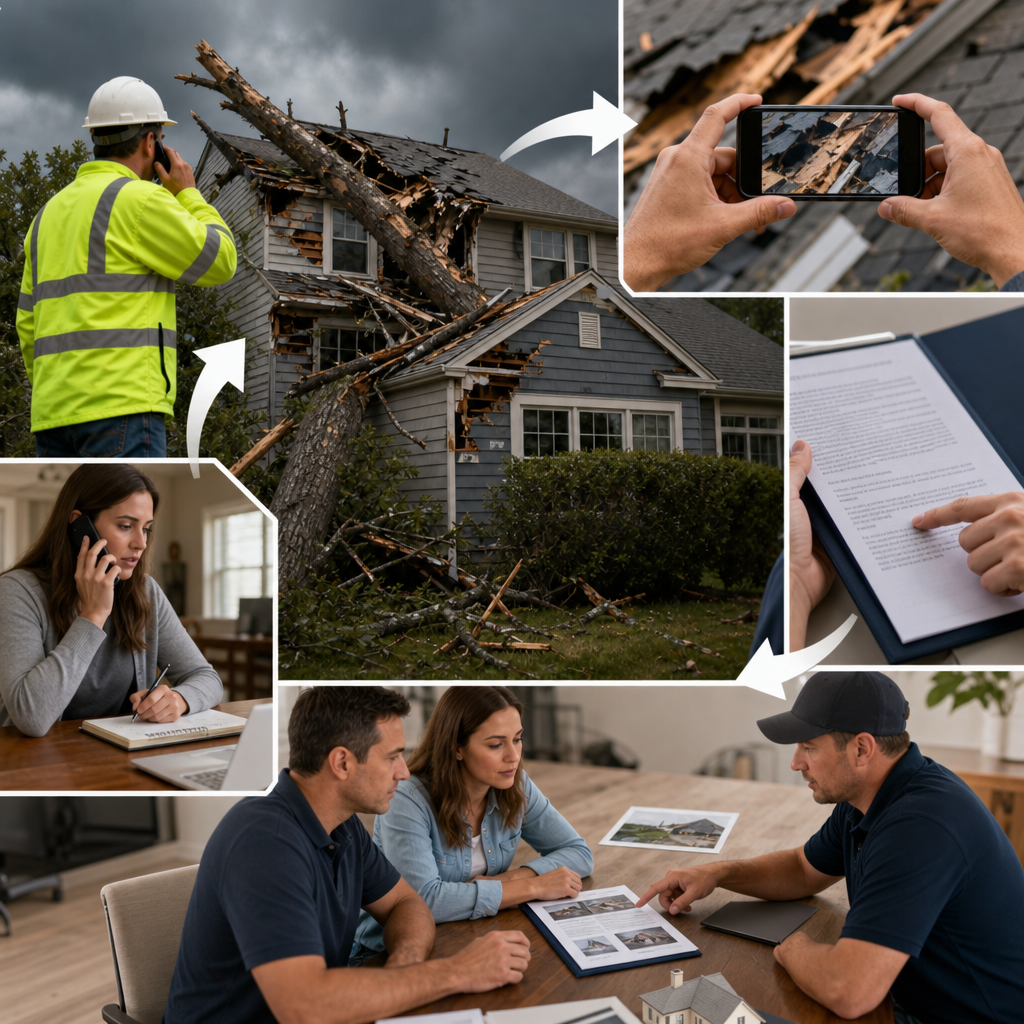
How We Help Protect Your Property During the Claims Process
At Expert Exteriors, we assist property owners with storm damage claims in several ways. When you contact us after a storm, we schedule a comprehensive damage assessment to document everything thoroughly. We provide detailed, professional repair estimates that meet insurance industry standards and itemize each repair, material, and labor component.
Many property owners don’t realize that contractors often communicate directly with insurers, answering technical questions and clarifying scope details. We handle that communication, preventing miscommunication that might reduce your payout. We also guide you through the claims timeline, helping you understand what to expect at each stage.
For properties with significant damage requiring immediate attention, we discuss temporary solutions that satisfy insurer requirements while protecting your property. Our 15-year workmanship warranties on roof and siding replacements mean you’re not just getting your property repaired, you’re getting protection that extends well beyond the initial claim resolution.
Common Mistakes That Delay or Reduce Claim Payouts
We see these errors repeatedly, and they hurt property owners significantly. Don’t make them yourself.
First, many people delay filing claims, assuming the damage will still be documented weeks later. Memories fade, weather conditions change the damage appearance, and deadlines approach. File within days of the damage.
Second, incomplete documentation leads to adjuster requests for additional photos and information, delaying resolution by weeks. Take comprehensive documentation upfront rather than providing sparse evidence that triggers follow-ups.
Third, some property owners repair damage before the adjuster inspects it. Even if your insurance will ultimately pay, the adjuster needs to see the actual damage. Repairing first can complicate claims or result in lower payouts because the adjuster must rely on your documentation rather than visual inspection.
Fourth, accepting the adjuster’s initial estimate without question can leave money on the table. If you believe the adjuster’s assessment is incorrect or incomplete, you have the right to dispute it and provide your own documentation or a contractor’s assessment.
Finally, hiring uninsured or unlicensed contractors for repairs after claim approval can invalidate coverage or create liability issues. Always verify contractor licensing and insurance before hiring.
Your Storm Damage Claim Timeline and What to Expect
Understanding the timeline reduces anxiety and helps you stay organized. Here’s the typical process:
After filing your claim, the insurer usually schedules an adjuster visit within 3-7 business days, depending on claim volume. The adjuster inspects the property, takes photos, and documents findings. This typically takes 1-2 hours.
Within 1-2 weeks of the adjuster’s inspection, the insurer sends you a settlement offer detailing covered damage, your deductible, and the payout amount. If you disagree with the assessment, you have options to dispute it or request an independent appraisal.
Once you accept the settlement, payment typically arrives within 7-14 days. For construction work, insurers often issue payment in stages as work progresses rather than upfront.
From start to finish, most straightforward claims resolve within 4-6 weeks. Complex claims with significant damage or disputes can take 2-3 months or longer. Having professional contractors involved speeds this process because communication is clearer and disputes are less likely.
Next Steps: Getting Your Property Restored Right
After your claim settles and you have funds available, the restoration process begins. This is where choosing the right contractor becomes crucial. We recommend getting firm estimates from your chosen contractor before starting work, ensuring their scope matches what the insurer approved.
When you’re ready to restore your property, we’re here to handle every aspect of roofing, siding, fascia, soffit, and gutter replacement. Our team manages projects efficiently, coordinates with your insurer regarding payment schedules, and ensures work meets both industry standards and your insurer’s requirements.
We don’t just perform repairs and disappear. We back our work with warranties and follow-up service, ensuring your property stays protected long-term. Our experience with insurance claims means you work with contractors who understand the specific requirements insurers have for quality and documentation.
Contact us today to schedule a storm damage assessment and get started with professional restoration. Let us handle the technical details while you focus on moving forward with confidence that your property will be restored properly.
For further reading: Exterior replacement timeline, Exterior project management, Contact Expert Exteriors.